How to Paint Assets for a Repeat Pattern
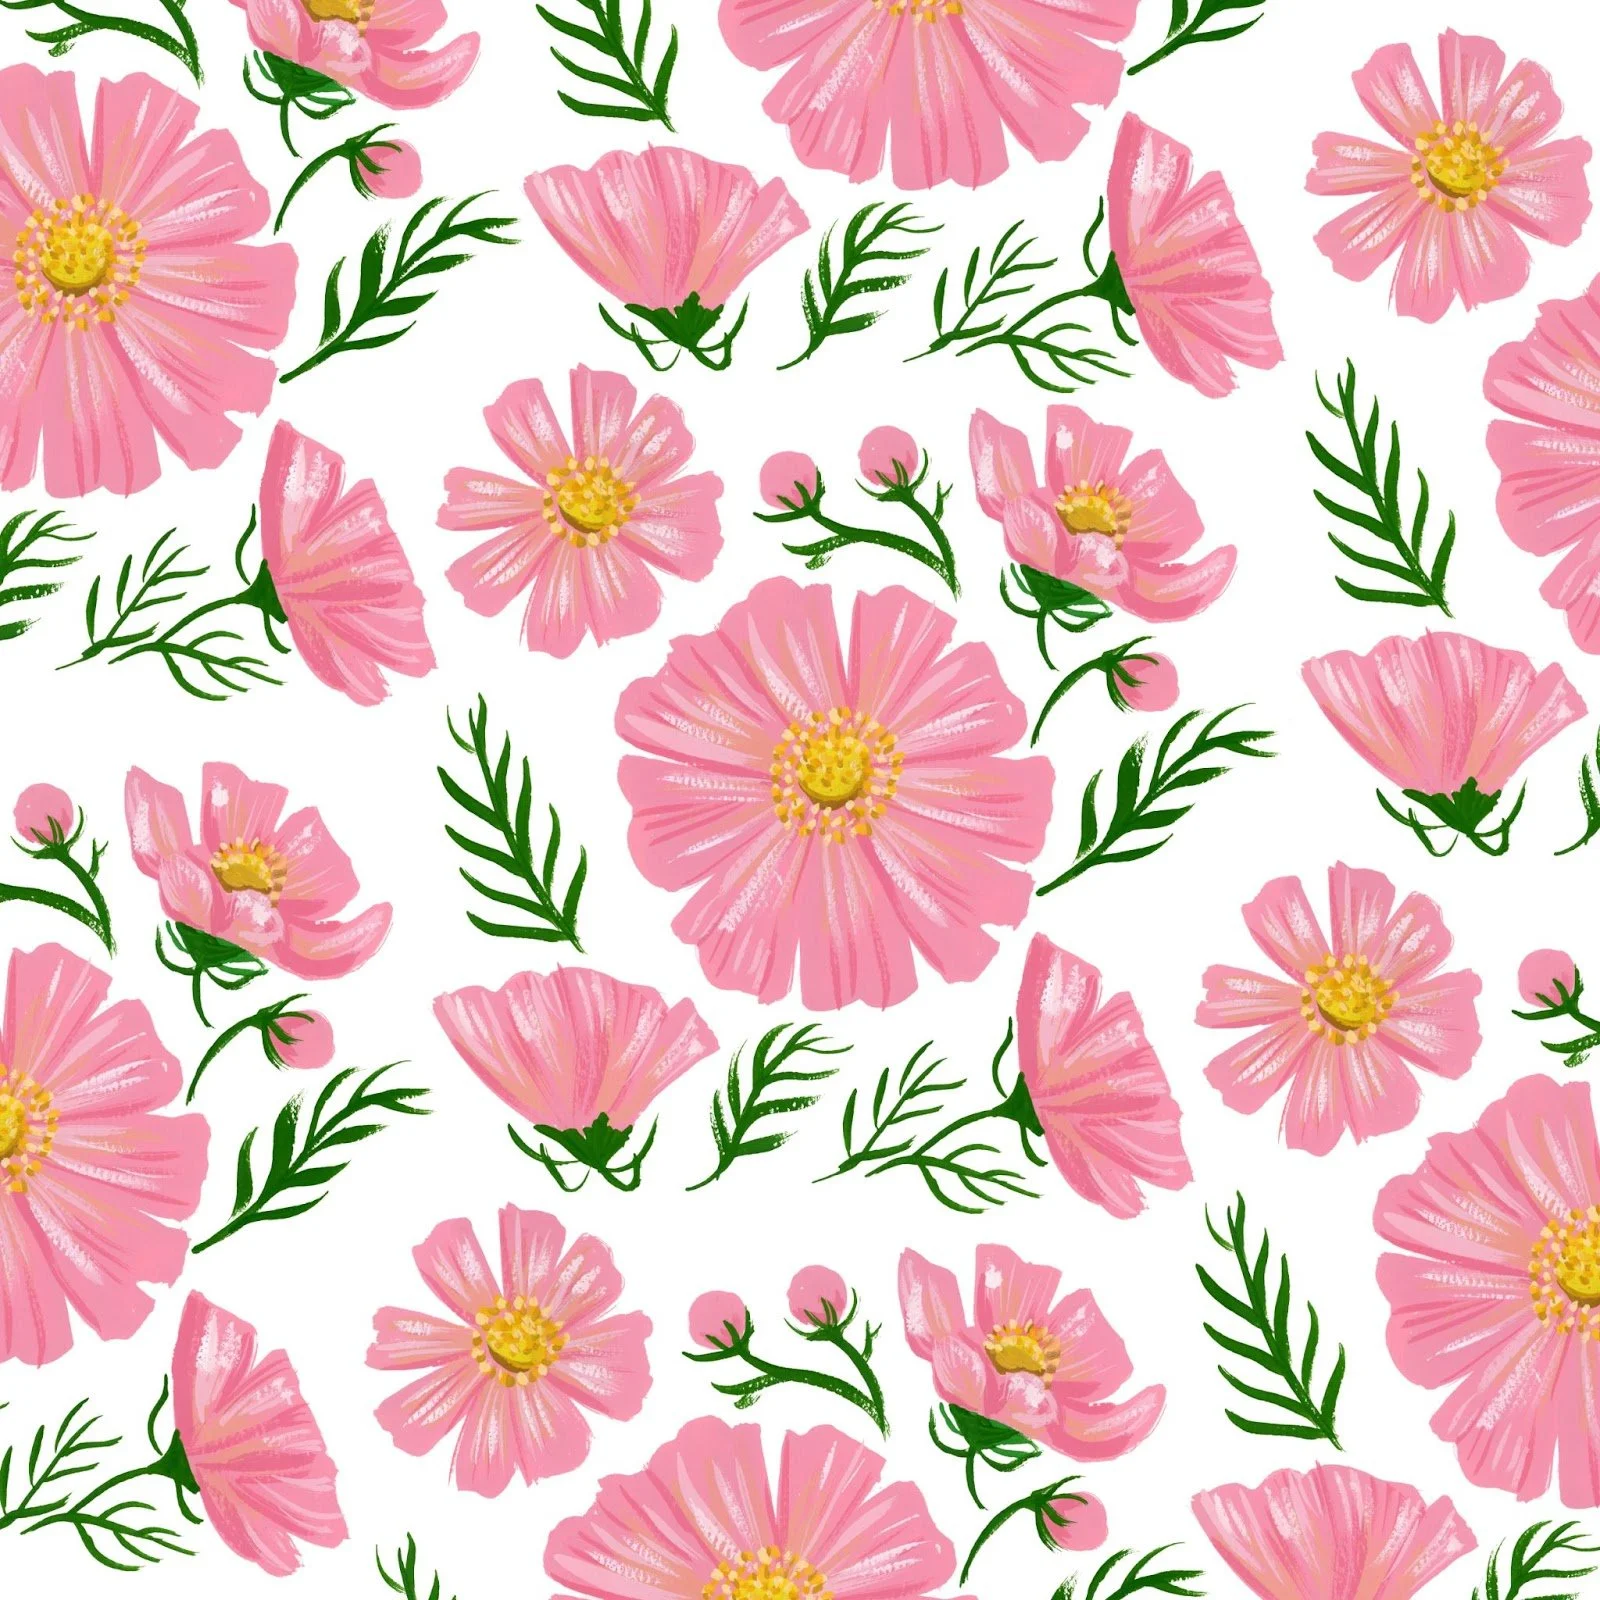
In this short and sweet blog post, I’ll share how to paint assets for a seamless pattern. There are two main things to consider when painting assets for a seamless pattern - variety and movement
While it’s doable to create repeat patterns with similarly sized elements, the key to a visually interesting pattern is variety. Painting elements in different sizes allows your pattern to look more fluid, cohesive, and professional. I also like to make sure that I include some elements that have some movement to them so that the pattern flows well.
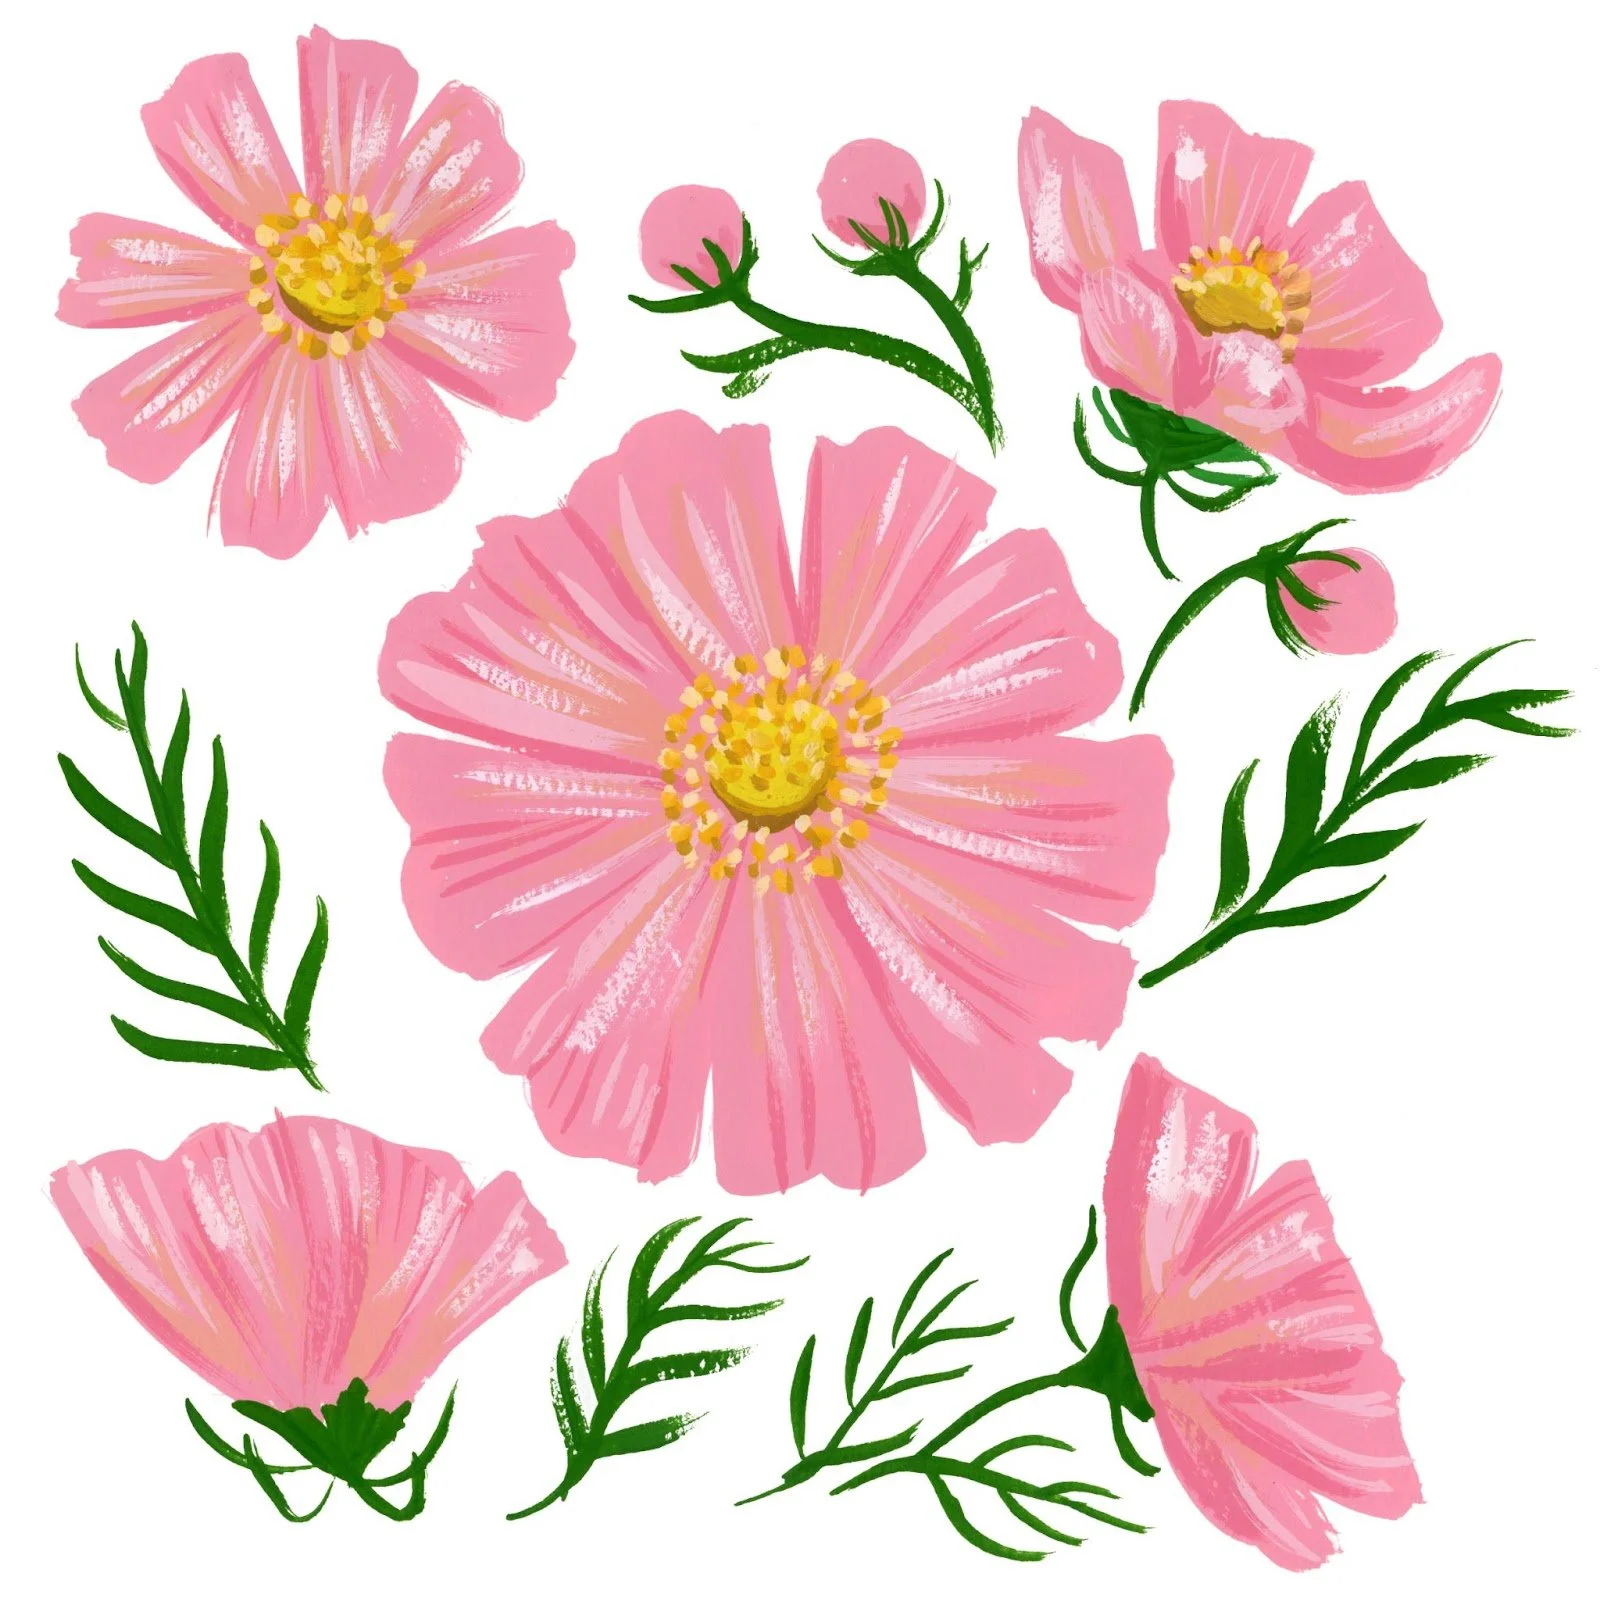
Asset Sizing for Repeat Patterns
When I’m painting with pattern design in mind, I create three different sizes and types of elements:
Hero elements
Supporting actors
Detail filler
Hero elements
The hero elements are the largest elements of the pattern. They draw the viewer's eye, and guide the overall theme of the composition.
Supporting actors
The “supporting actors” are typically smaller than the hero element. They are there to provide contrast and movement while still staying true to the overall theme of the pattern.
Detail filler
These are the smallest elements of the illustration. They are there to help fill in the gaps of the illustration between the hero elements and supporting actors. The detail filler elements help create movement and tie the pattern together so that it feels cohesive and fluid.
Creating Movement in a Repeat Pattern
When you paint elements for a repeat pattern, you want to paint with movement in mind. Let’s use the example of a floral pattern. If you painted multiple different flowers, but they’re all facing the same direction, your pattern will look like polka dots. Which is fine if that’s the look you’re going for.
But if you want to create a fluid repeating pattern it’s helpful to create elements with a lot of variety and movement so your pattern looks flowy and organic. If you’re painting flowers, a good way to add movement into your pattern is to paint some flowers facing forward, some facing to the side, some with stems, and some greenery to tuck in as detail filler.
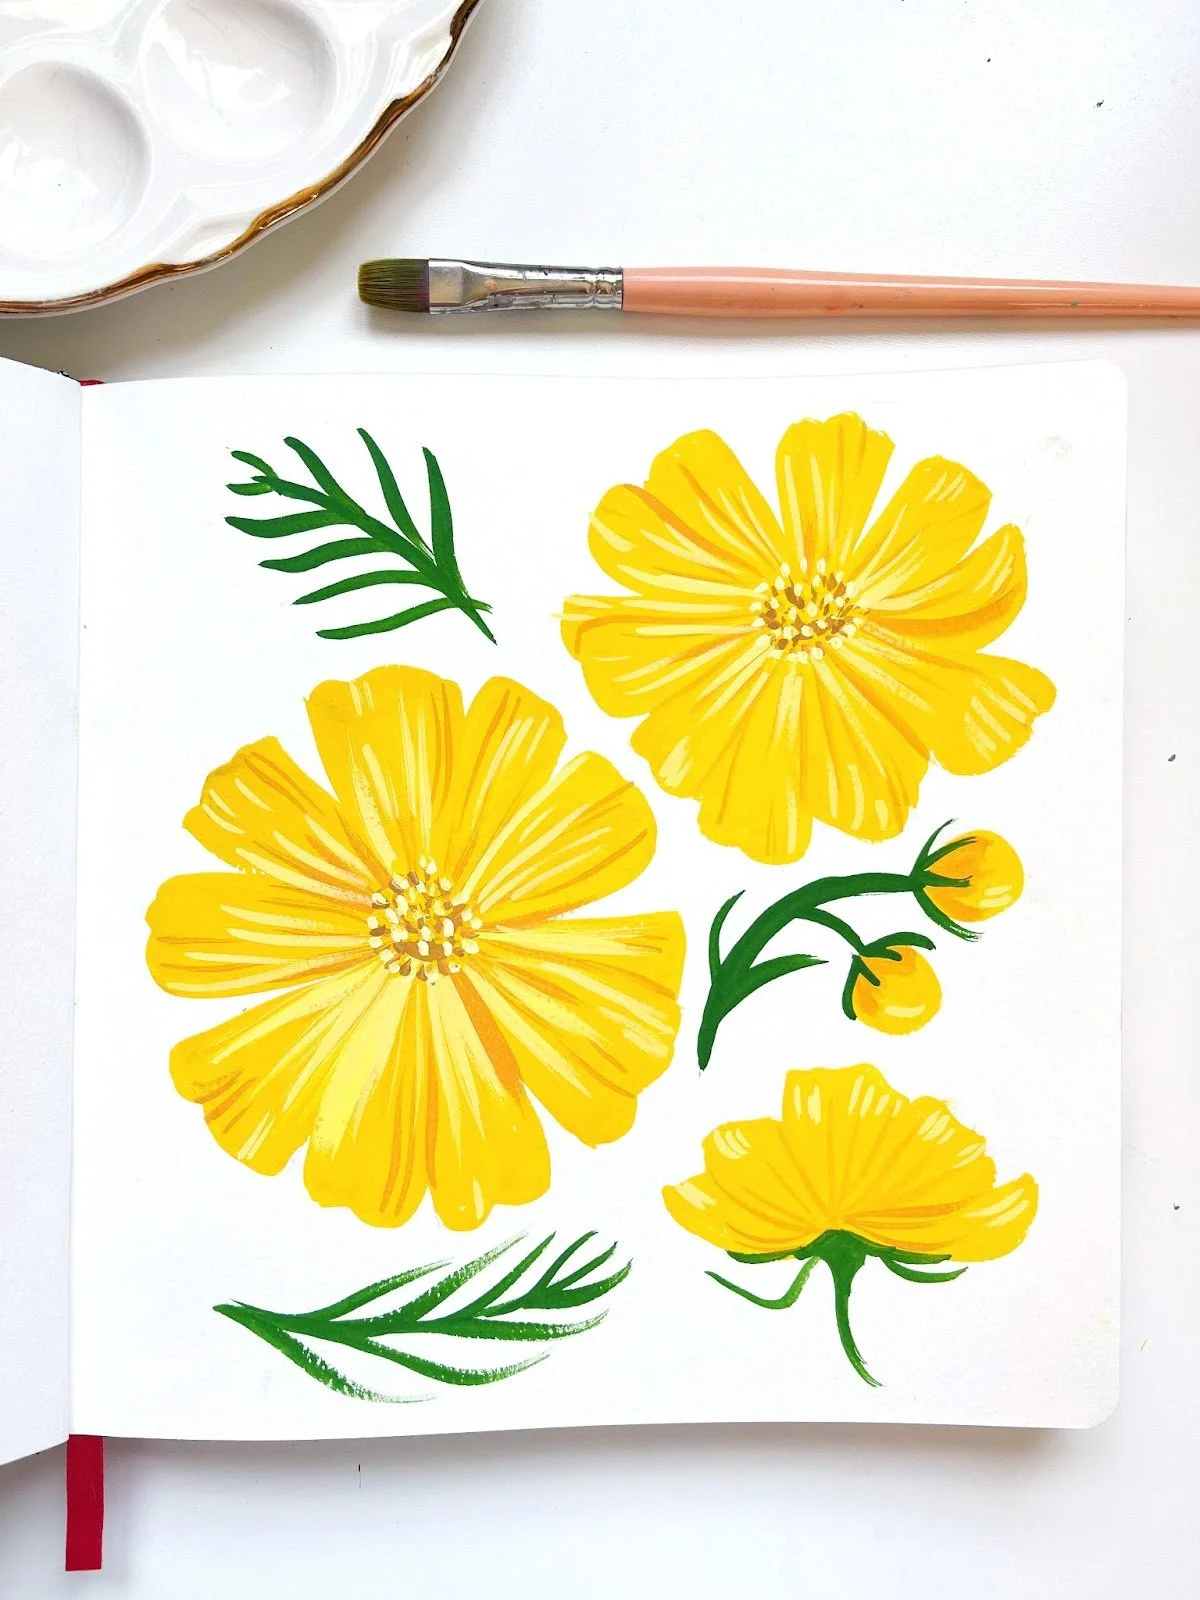
As you practice making patterns you’ll learn what kinds of elements you are drawn to and what fits your personal style. I hope that this tutorial will help you get started creating some beautiful patterns! I’d love to see what you paint. Share your painted pattern elements on Instagram with the hashtag #ArtWithAnnDanger so I can see what you create!