How to Make a Repeat Pattern in Photoshop
In this tutorial, you’ll learn how to make a repeat or seamless pattern in Photoshop from hand-painted elements. Pattern-making can feel daunting when you’re first starting out, but once you get the hang of it, it will start to come more naturally. And Photoshop has a tool called “Pattern Preview” that makes creating repeating patterns a breeze!
But first, you may be wondering what a repeating pattern is. A repeat pattern is a collection of elements put together in a way that allows the pattern to stack on top of itself and repeat without any interruptions.
So why are repeat patterns important? These types of patterns can be scaled infinitely, so they’re great for use on things like wallpaper, fabric, and other large surfaces. This is a great skill to learn as an illustrator since it will allow you to be versatile and flexible in how you are able to share and sell your work.
Now let’s dive into learning how to create a seamless pattern!
Step 1: Paint & Digitize
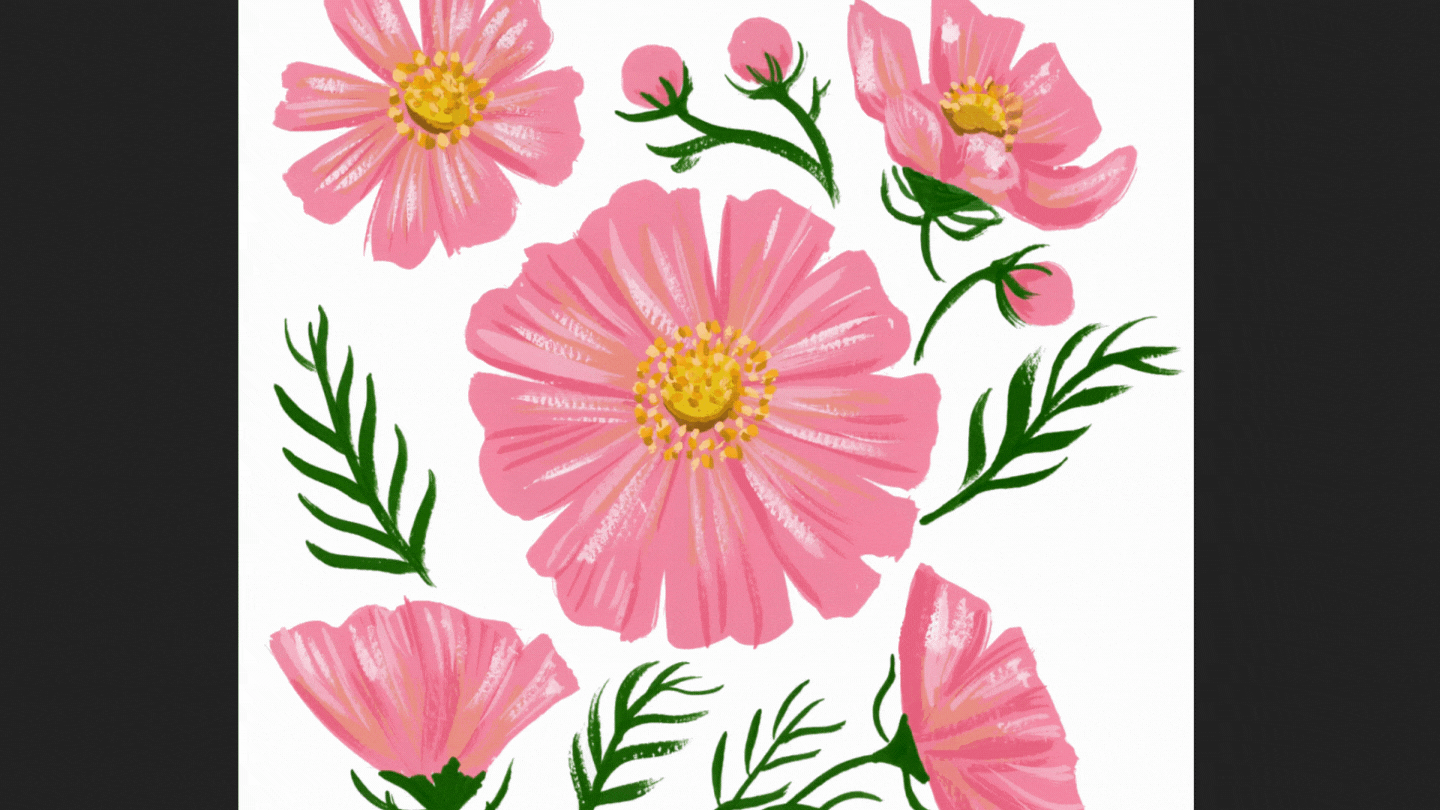
All you’ll need for your seamless pattern is a digital file of hand painted elements and Photoshop!
If you need some guidance on how to paint elements for a seamless pattern, check out this blog post first.
Then when you’re ready to digitize them you can read about how to do that in this post.
Once your digital file is ready, you can start making your pattern!
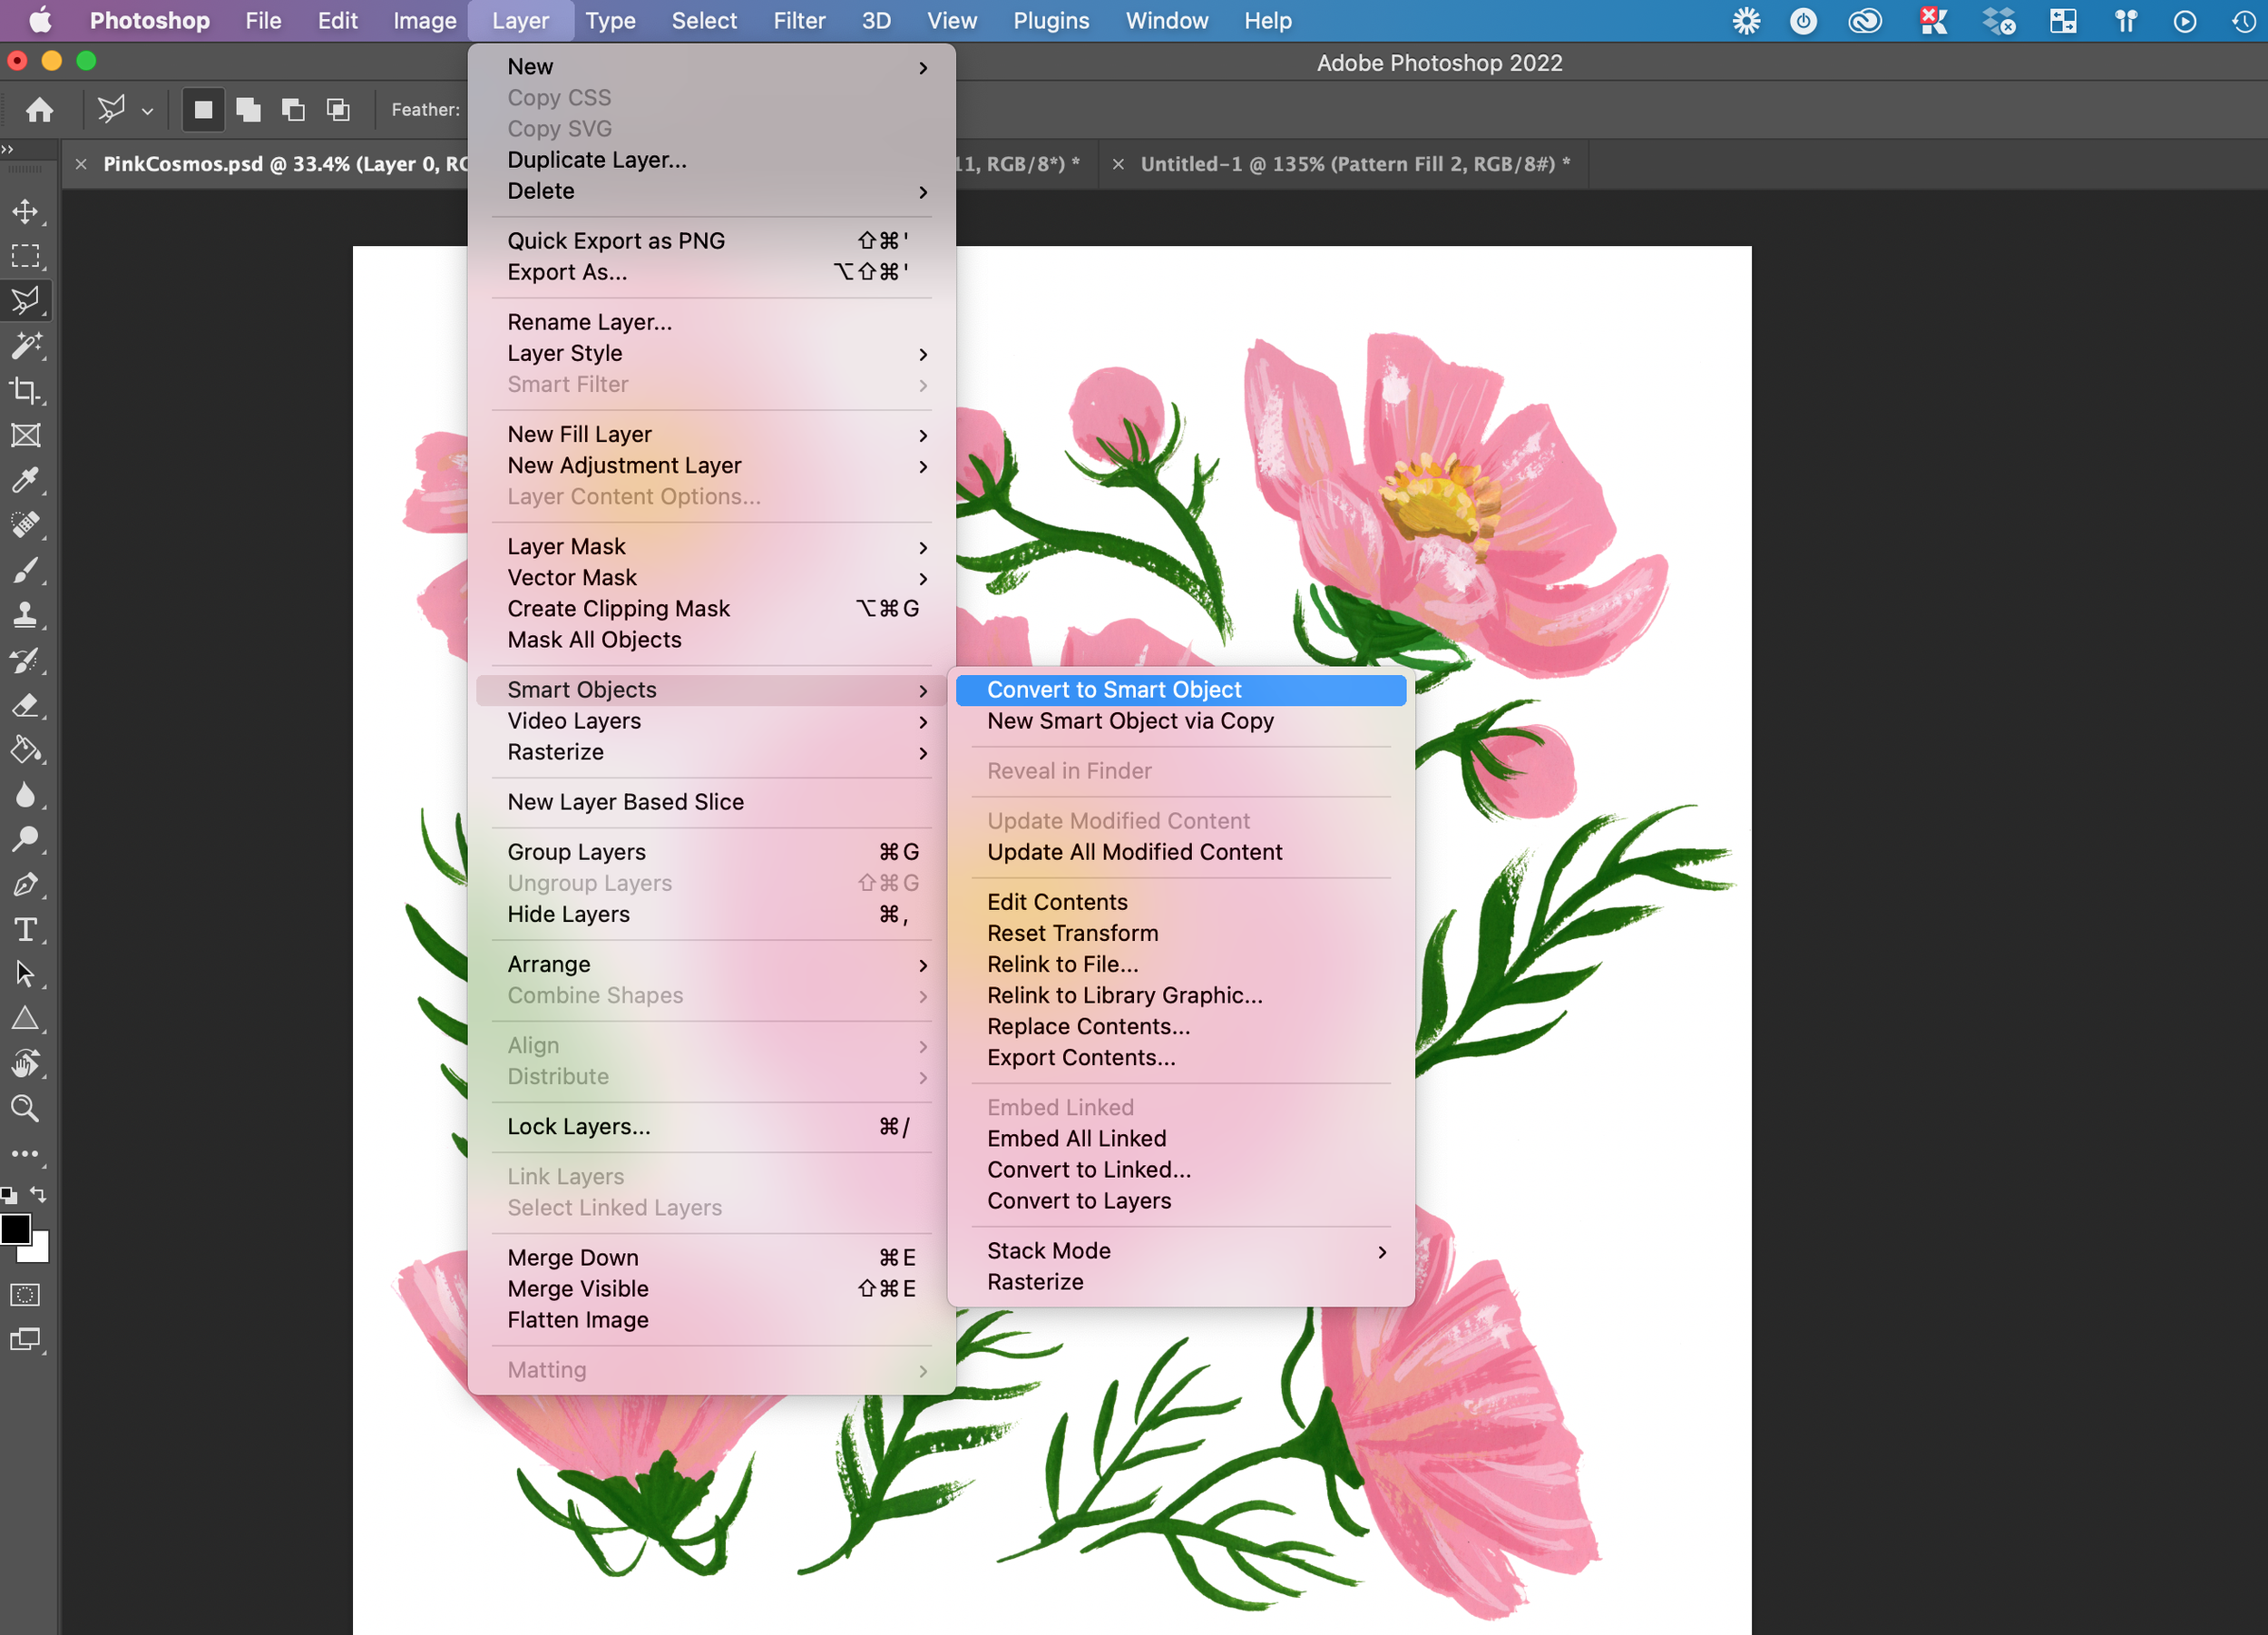
Step 2: Convert to a smart object
In order to use the Pattern Preview tool to create your pattern, you’ll need all of your layers to be a smart object. With your elements layer selected, go to the layer menu, hover over Smart Objects, and click “Convert to Smart Object.” This will convert everything on that layer to a Smart Object.
Step 3: Get each element on its own layer
The goal with a seamless pattern is for it to look smooth and fluid. In order to arrange your painted elements into a pattern, you’ll want them to be on their own layers so you can move them individually.
To do this, take the lasso tool (keyboard shortcut: L) and draw around the element that you want to isolate. When the element is selected use the keyboard shortcut cmd + j to copy and paste the element onto its own layer.
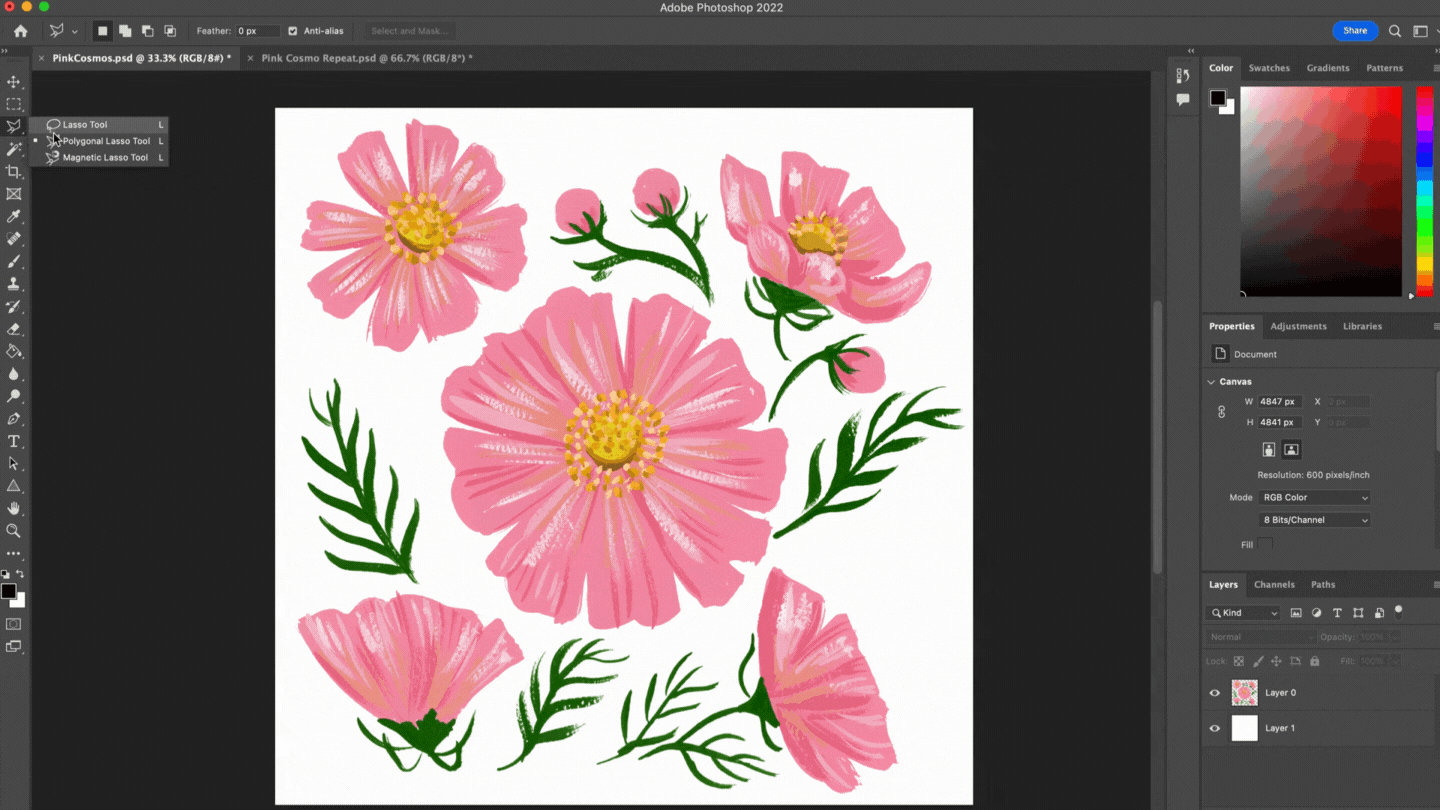
Now navigate back to the initial layer with all of the elements and cut out the next one using the lasso tool. Repeat this process until all of the elements have been copied onto individual layers.
Step 4: Create a pattern block file
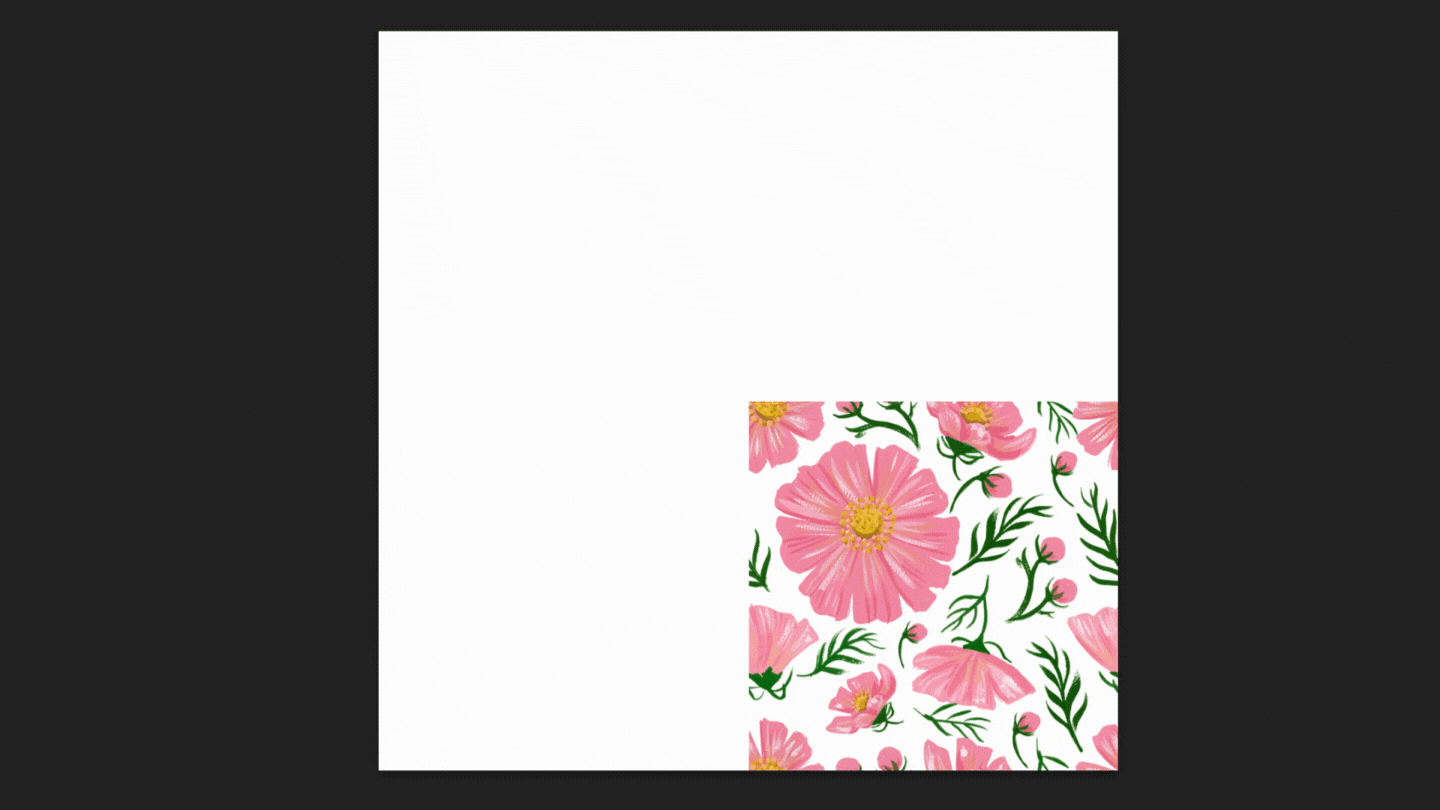
Now it’s time to create a new file for your pattern block. You can think of seamless patterns as tiles. The entire pattern is built from one tile that gets stacked on top of itself to create the larger pattern.
Anything that gets cropped off of the edge of the tile must be repeated on the other side in order for the repeat to work. Here’s an example of how a pattern block tiles on top of itself to create the larger pattern.

Create a new file for your pattern tile. I like to create mine fairly large so that they can be scaled up without losing resolution. All that really matters is that the file is a perfect square. In this example I’m doing a 20x20 inch square at 300 DPI. That might be too large for your purposes, so feel free to size it down to fit your needs.
Step 5: Pull in your elements
Next, drag and drop the painted elements from their original file into the pattern block file. Select the first layer, hold down shift on your keyboard, and then click the last layer to select them all and move them as a group.

Step 6: Arrange the pattern!
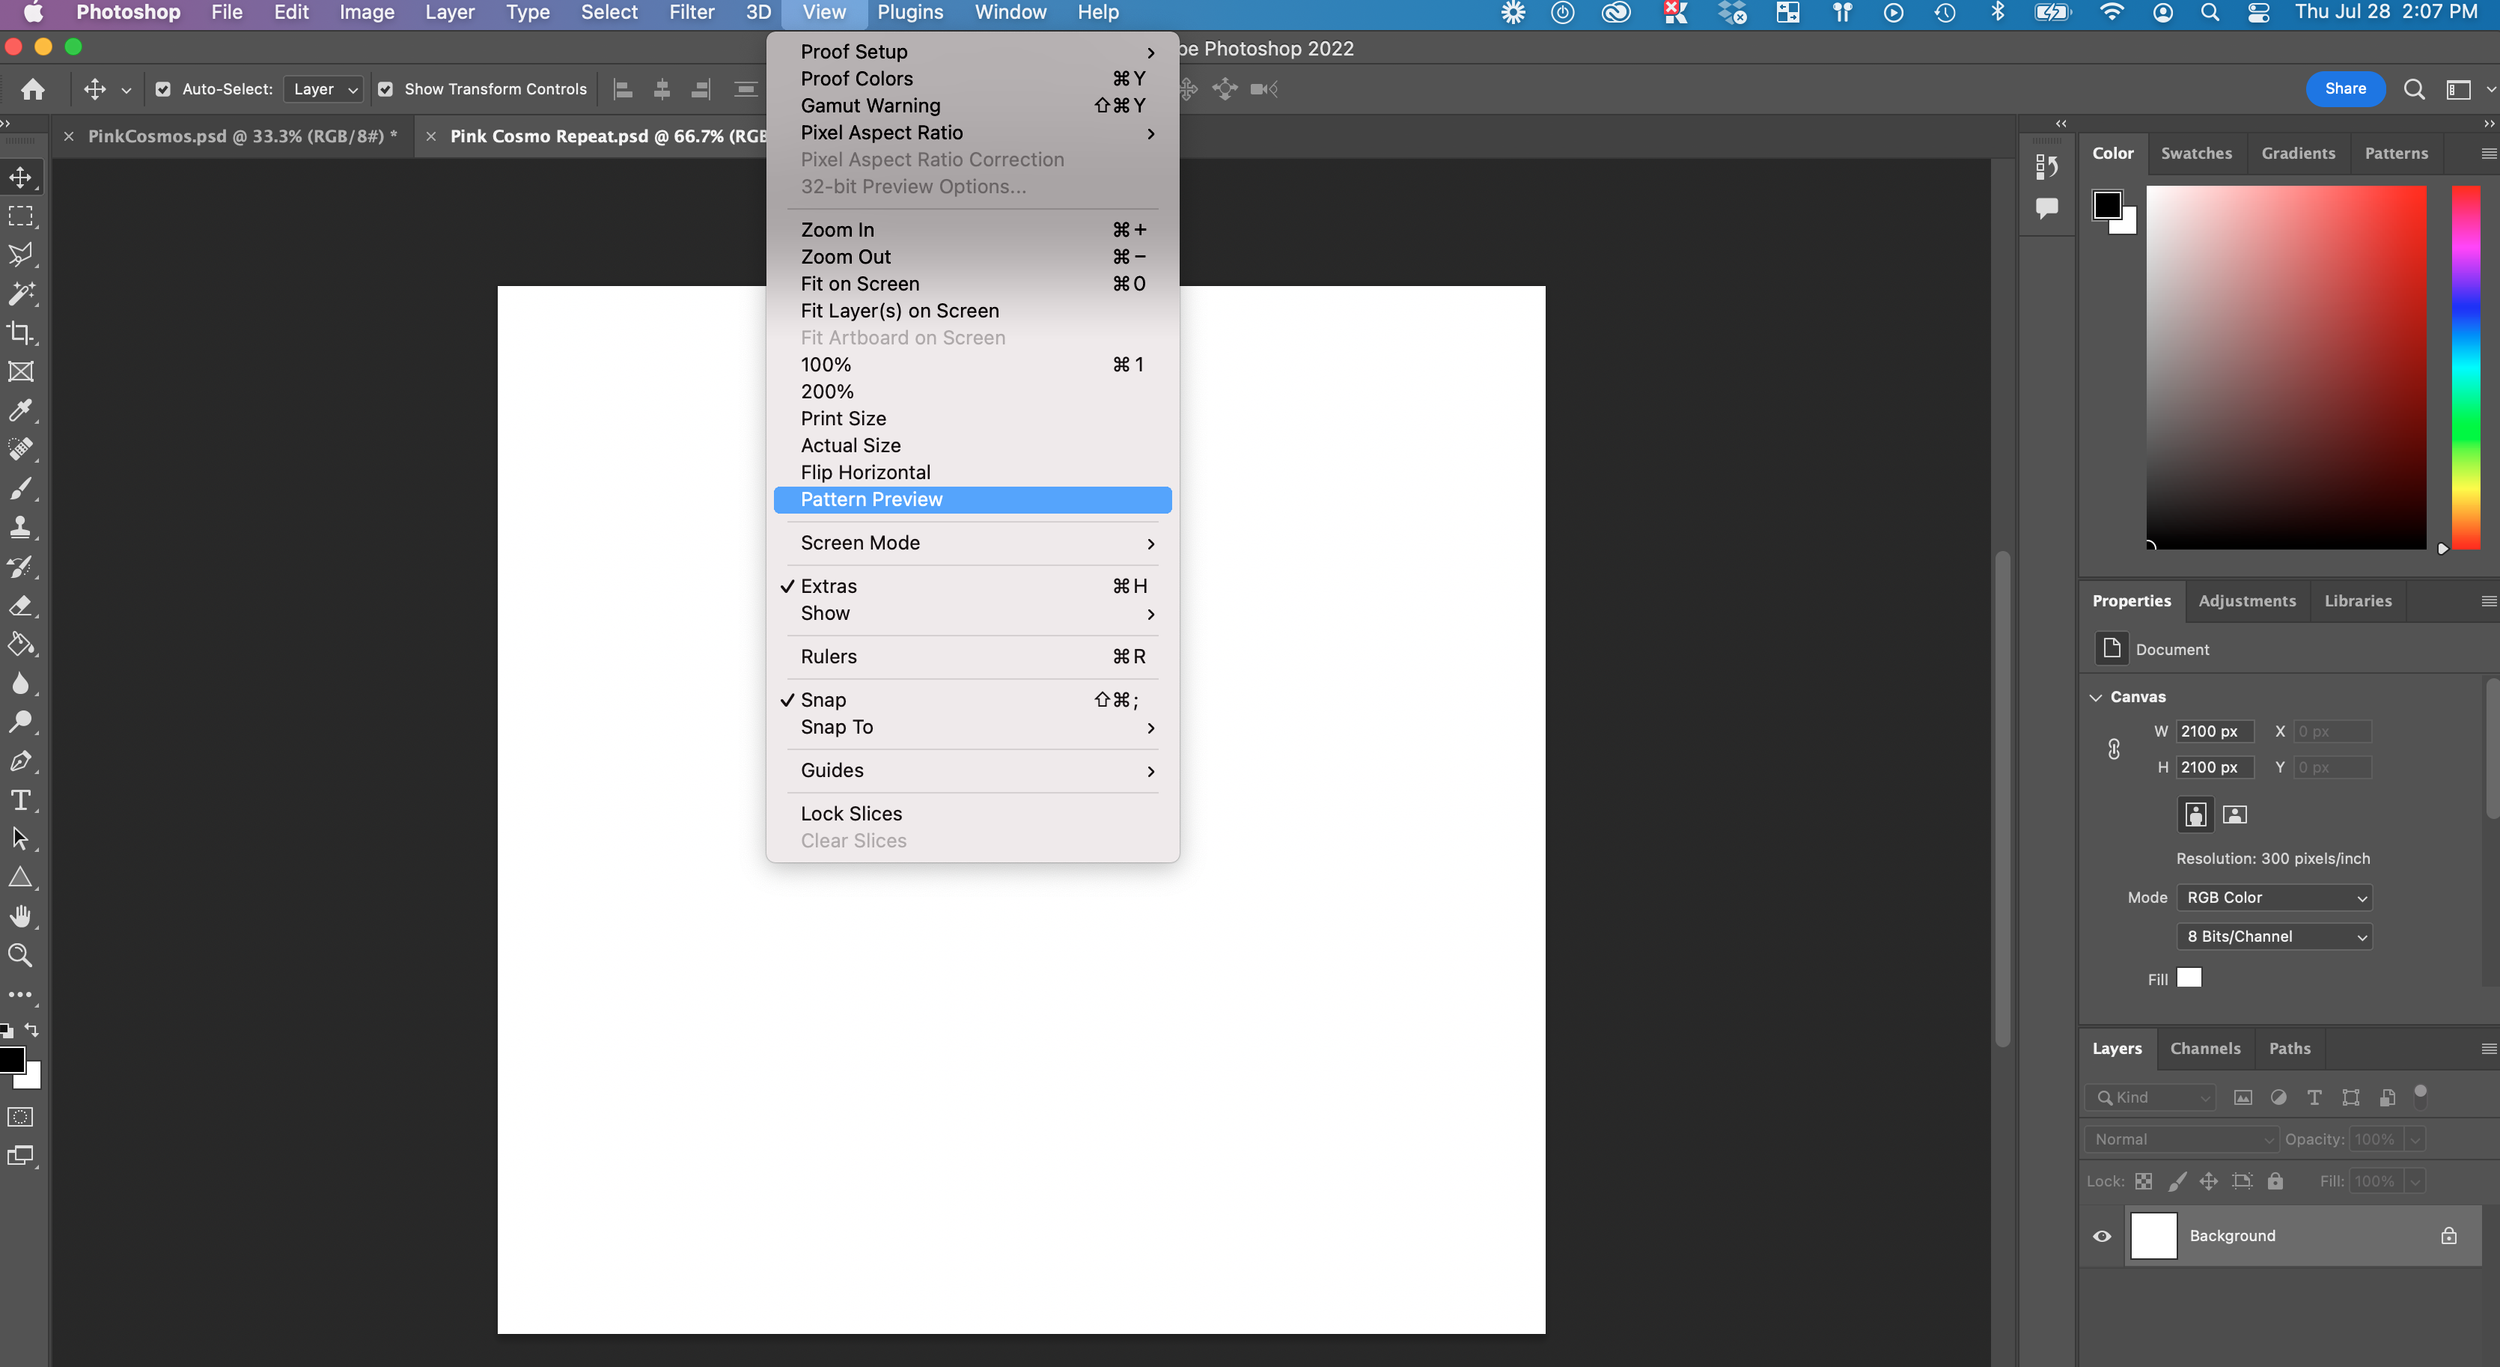
Now it’s time to make the pattern! The first step is to turn on Pattern Preview. Click the View menu and select “Pattern Preview.”
Now you can see exactly what your full pattern will look like in real time.

Notice how any time you move an element outside of the square tile, it repeats it seamlessly on the other side.

I like to play around with my elements and arrange them one by one. It’s helpful to start with arranging the elements that will be hanging off of the edge of the tile. Then you can fill in the center of the tile after you have those repeating elements placed. I liked the composition of my original elements, so I started my pattern by making sure all of those layers were selected and shifting them slightly off of the edge of the block. This left a nice blank space for me to add in more elements.
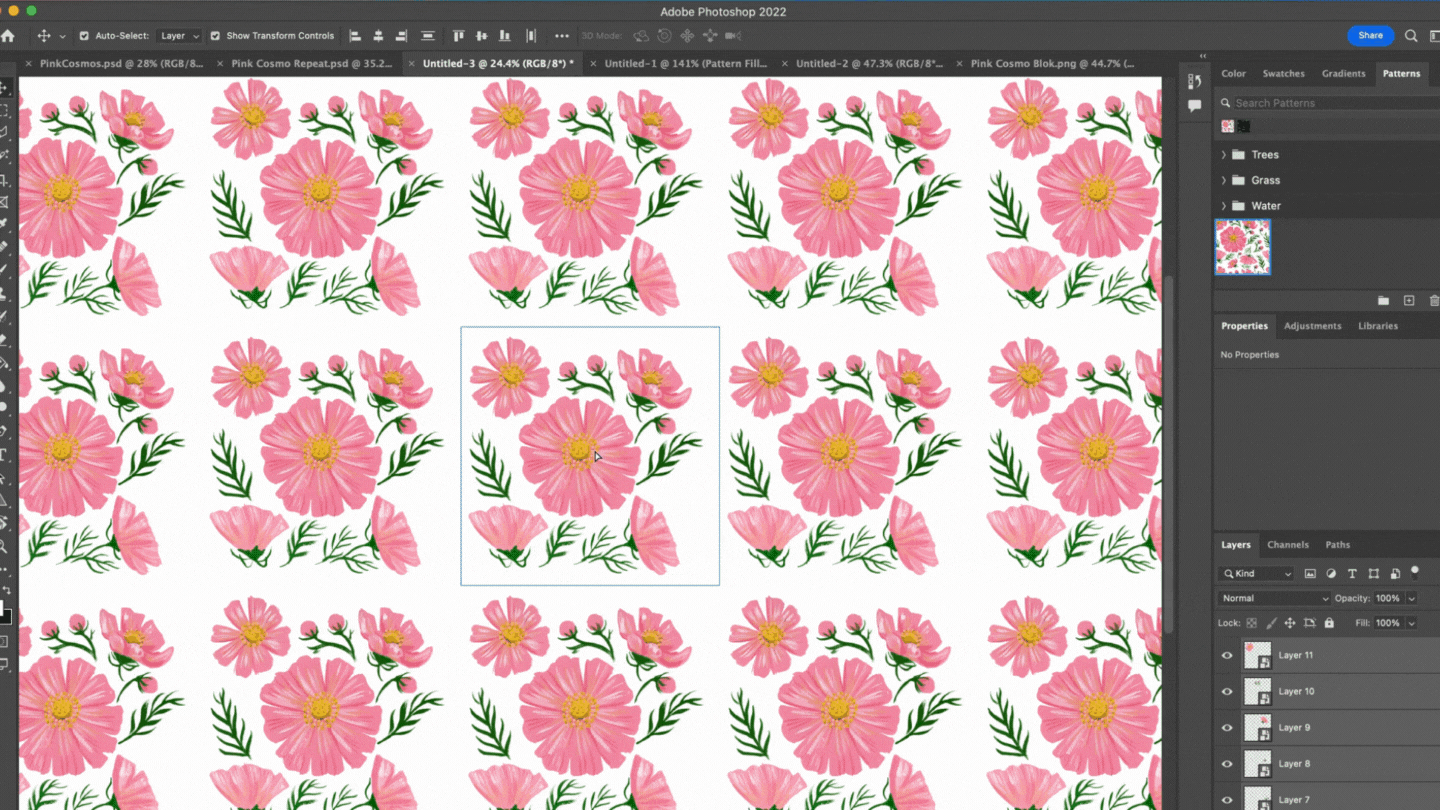
If you want to duplicate any of your existing elements, you can simply select them and use the keyboard shortcut cmd+c / cmd+v to copy and paste them onto a new layer. From there you can resize and rotate the element to fit it into any spots that are feeling sparse in the pattern.

When you’re happy with how the pattern looks, save your pattern block file. To finalize the block, you’ll need to merge the layers together. I like to make a copy of the un-merged file in case I want to come back and make any changes. Then you can merge your layers together on the copied file . Turn Pattern Preview off by going back to View → Pattern Preview. And you’ll see the final tile. This is what you’ll use as the base of your pattern to stack and repeat.

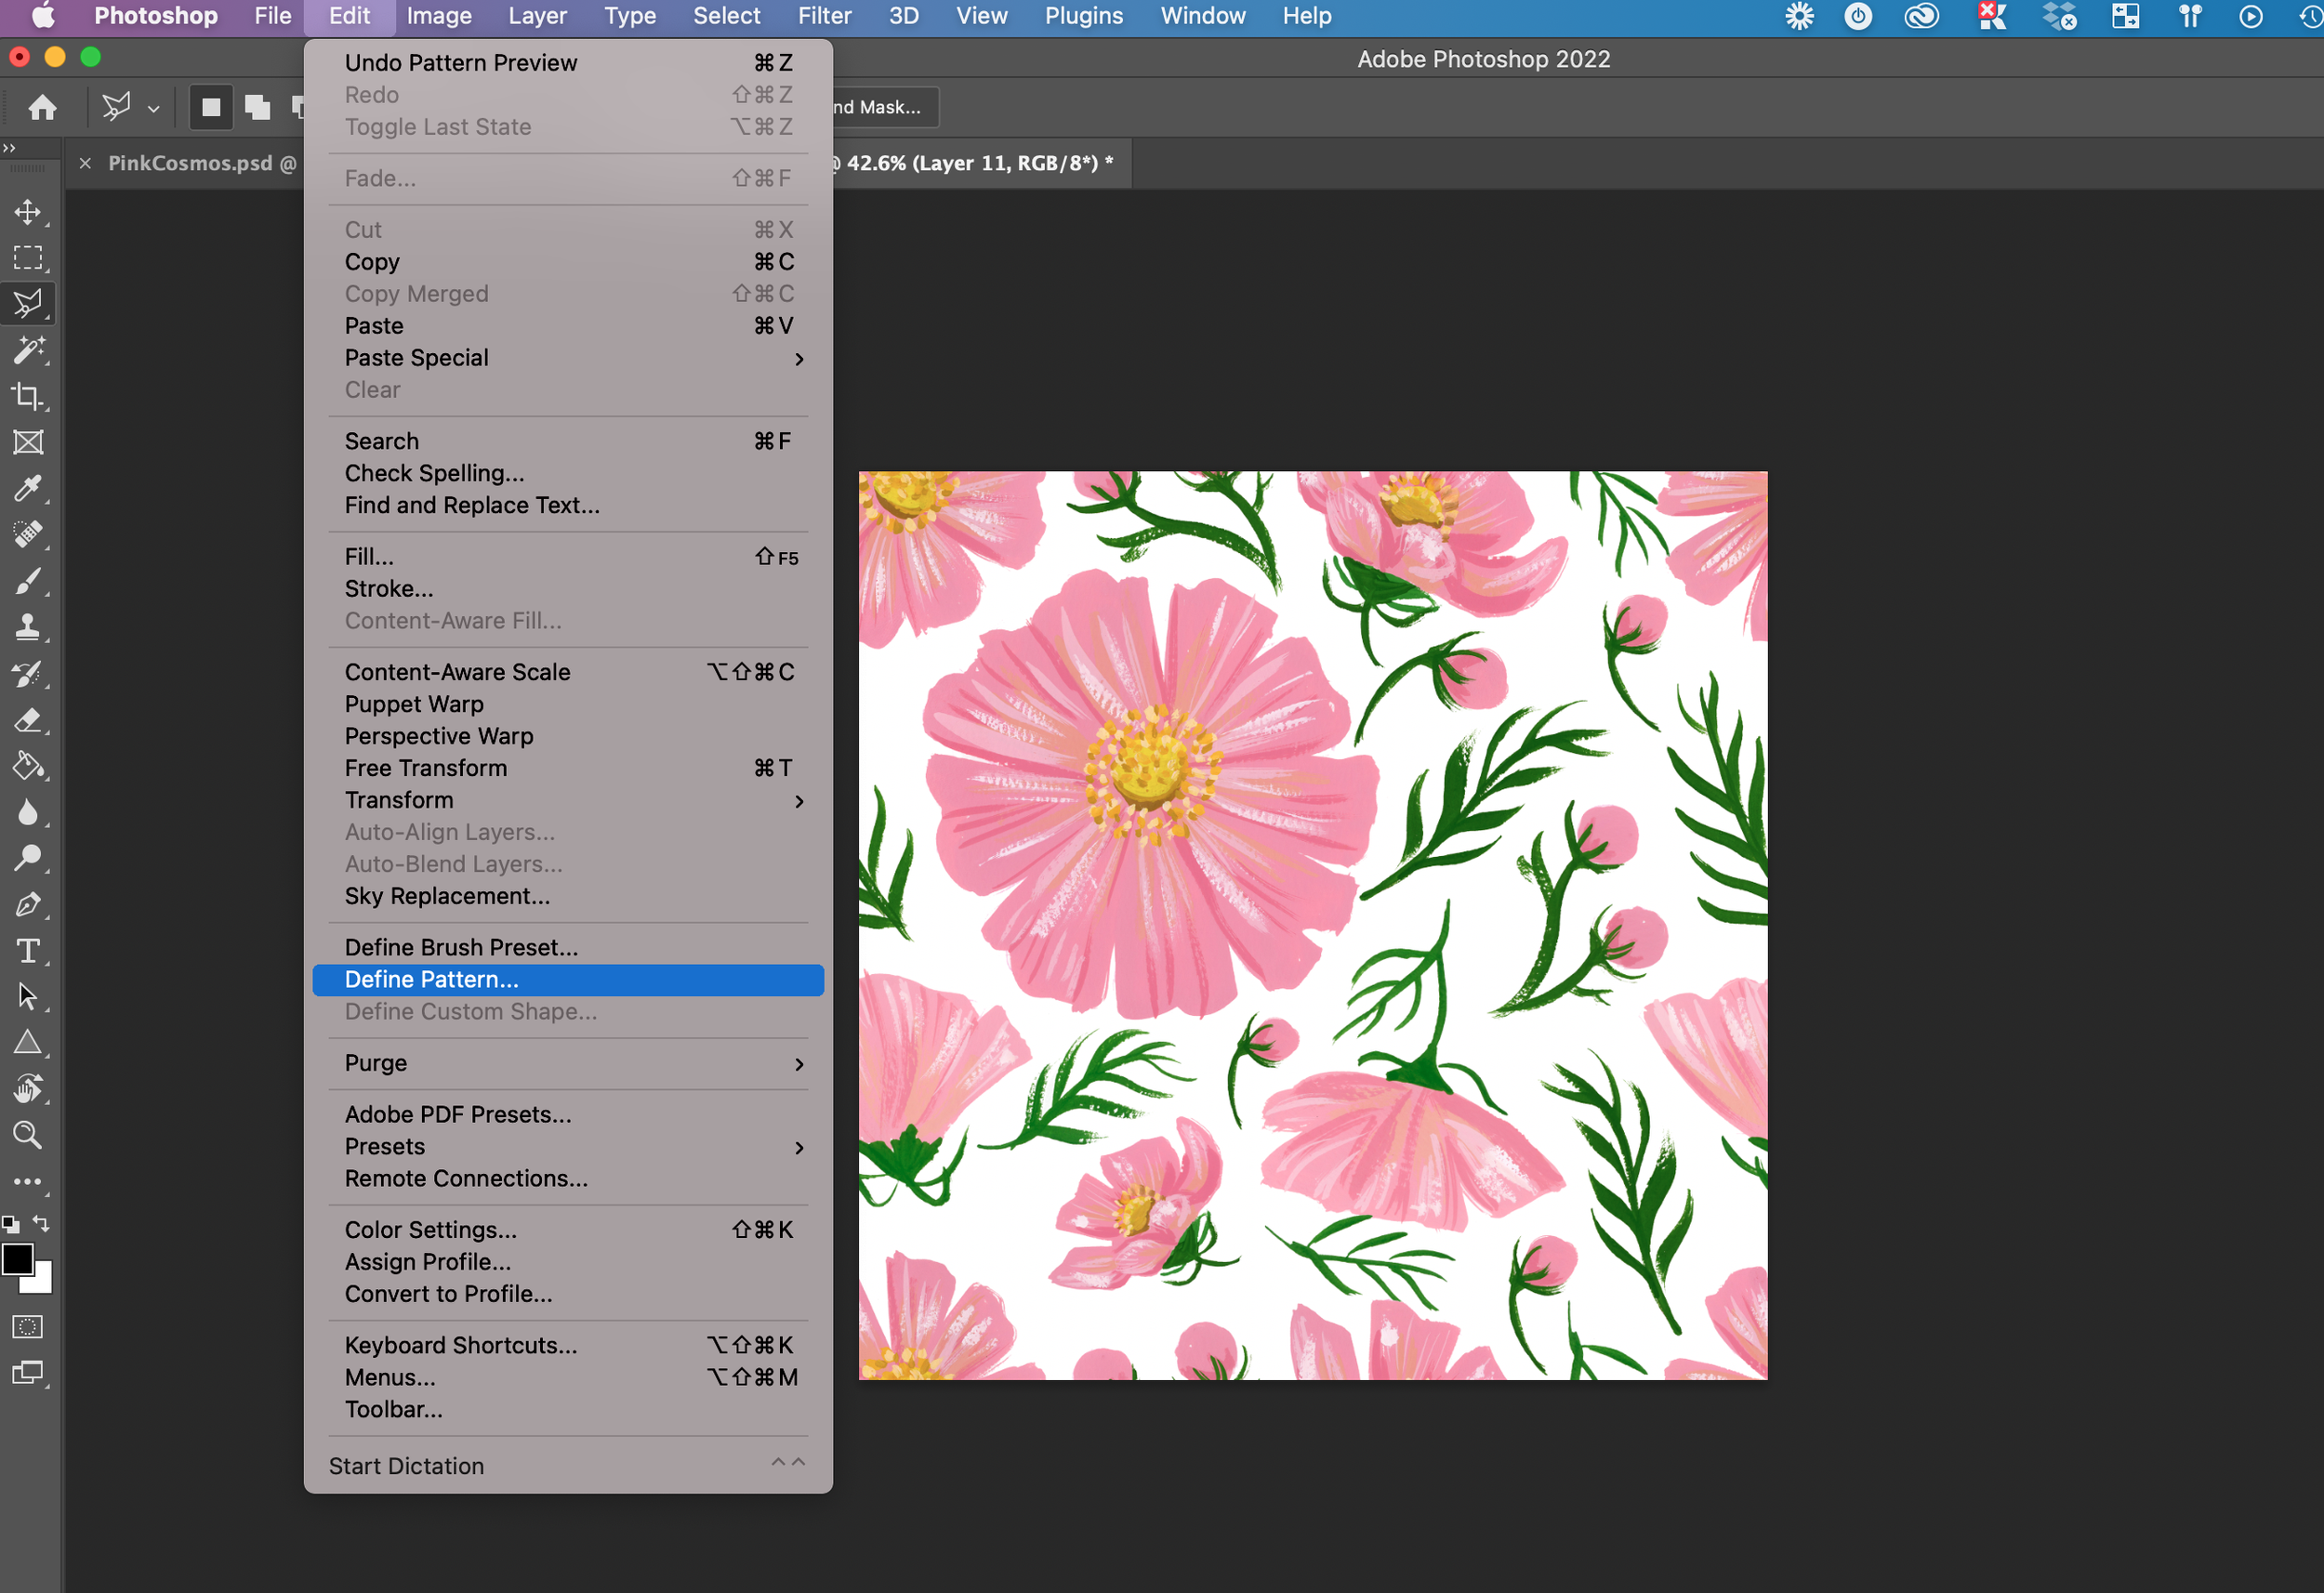
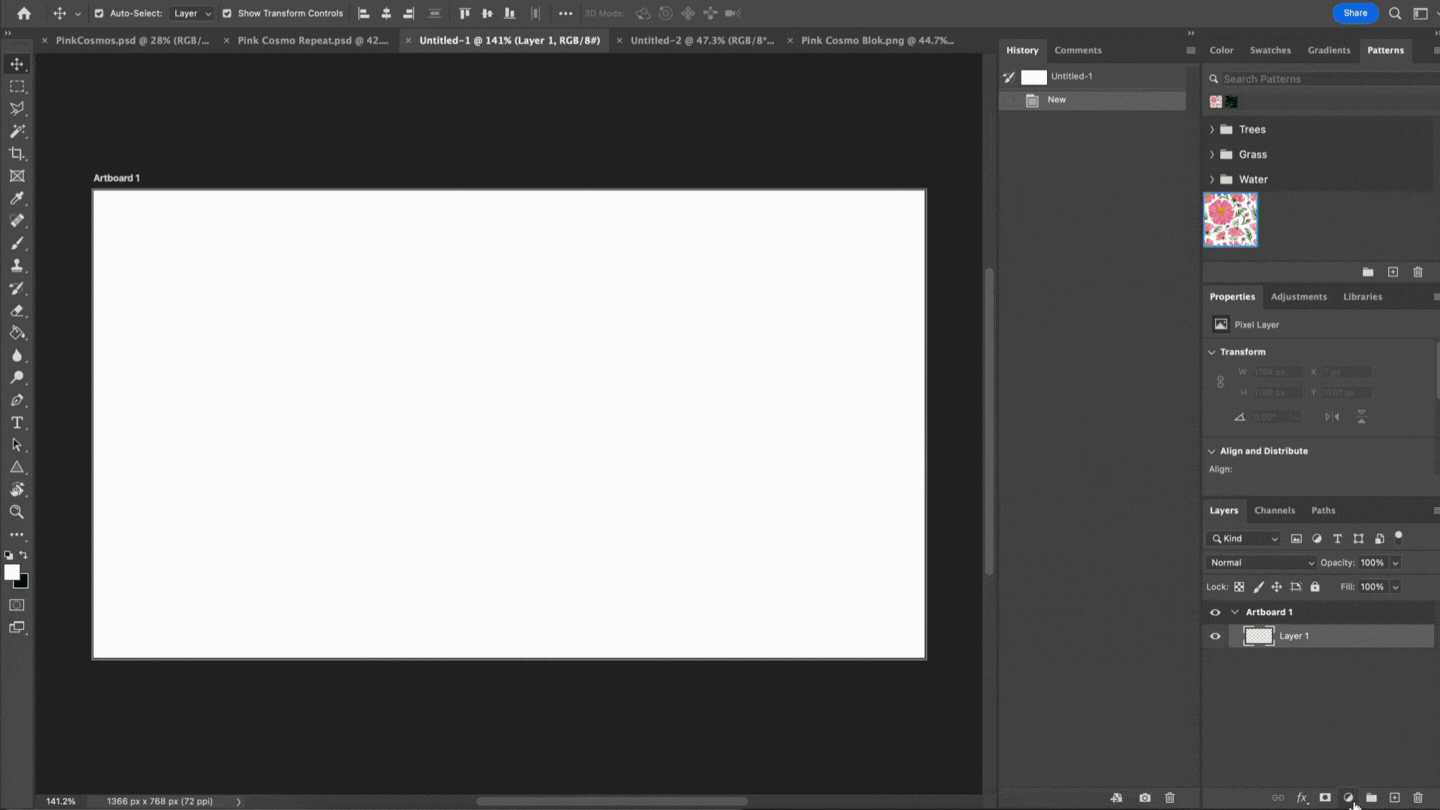
I like to turn my pattern tiles into pattern swatches in Photoshop so that it’s easier to make them automatically repeat. To do this, click the Edit menu and click “Define Pattern.”
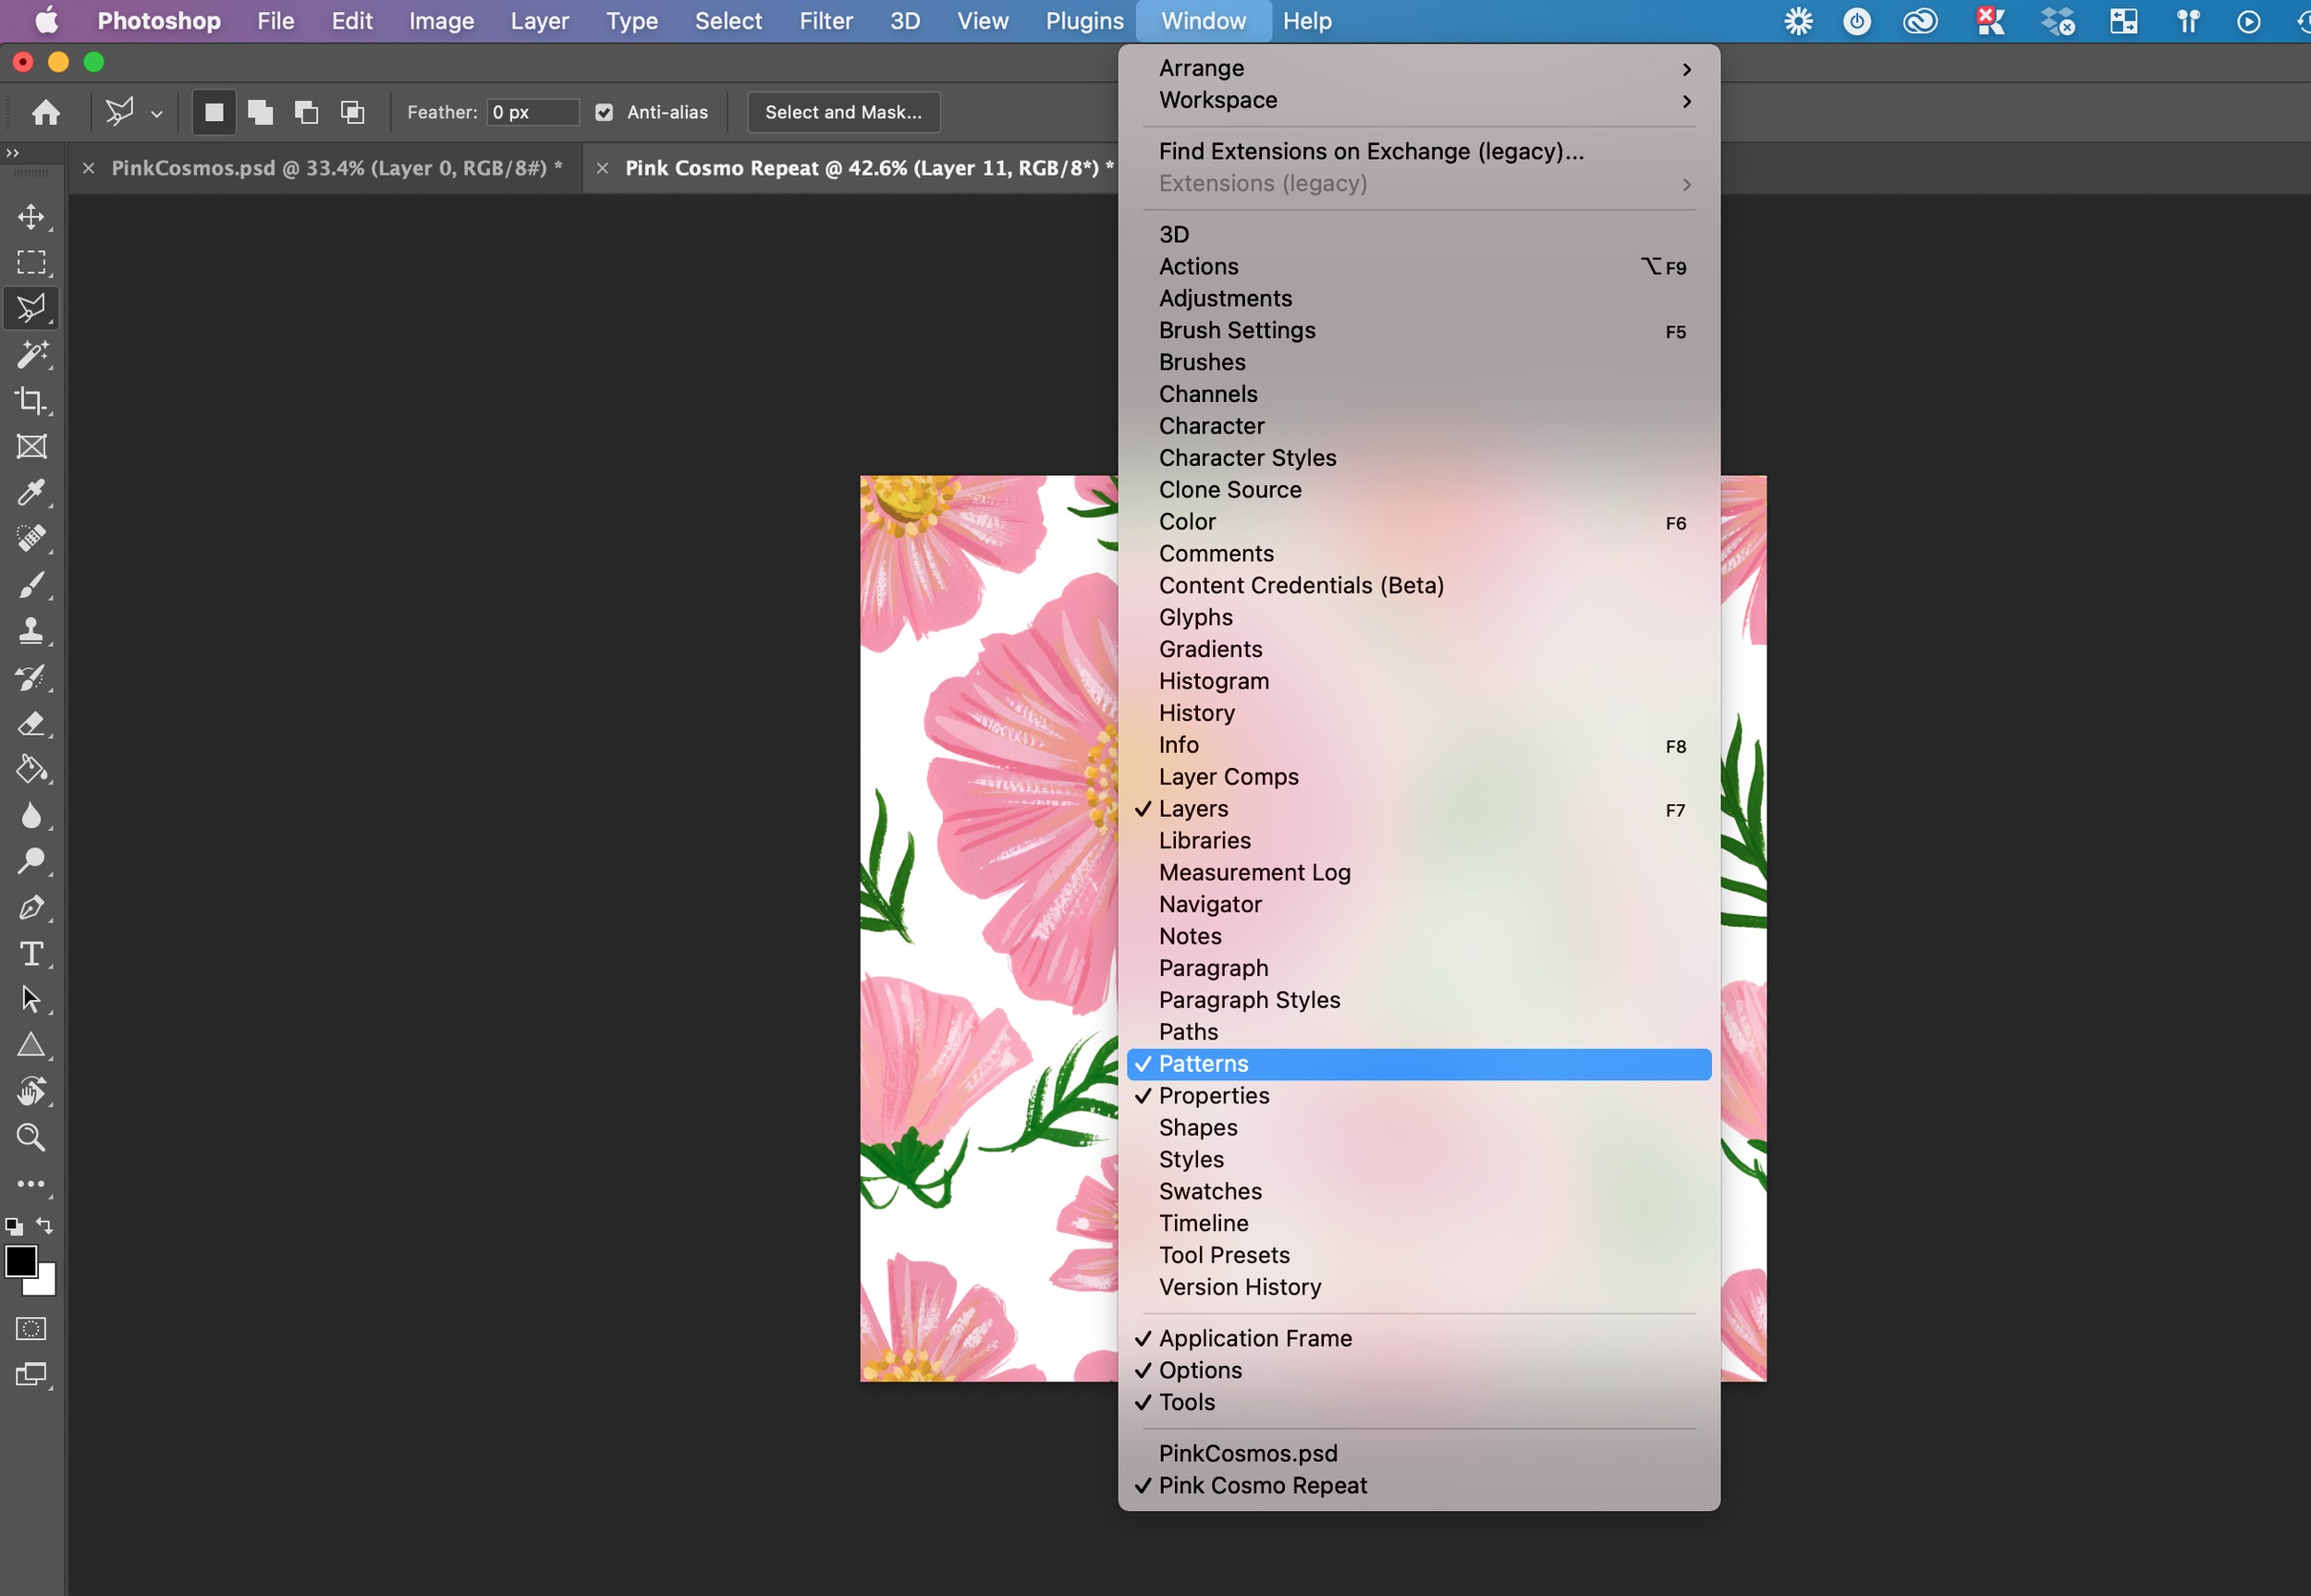
This turns your pattern into a swatch that you’ll find in the patterns window. If you don’t see the pattern swatches, click Window → Patterns to turn it on.
Now you can add the pattern to any size canvas and it will repeat seamlessly. I’ll show you an example with a banner canvas. Click the round button on the layers panel to create a fill layer. Then you have the ability to set the size of your pattern and let it fill the canvas.
And now you have a repeating pattern that you can use on all kinds of products! I’d love to see your patterns. Share them on Instagram with the hashtag #ArtWithAnnDanger so I can see what you create and cheer you on!