Gouache Painting for Beginners
It’s no secret that gouache is my favorite medium to paint with, but you may be wondering what it is and how you can get started with gouache painting. Gouache (pronounced “gwash”) is a fantastically versatile paint, but it’s lesser known than acrylics and watercolor. In this post, I want to share the magic of gouache with you so you can feel confident in trying this medium out for yourself. You’ll learn the benefits of gouache painting, why it’s such a great medium for beginners, and tips for getting started painting with gouache. And who knows? It may just become your favorite medium too!
What is gouache?
So what is gouache exactly? It’s a water-based opaque paint. It’s opaque like acrylic, but lays on the paper in a much more smooth and flat way. It’s water-based, so you can control the opacity and flow of the paint just by adding water. This makes it incredibly diverse and intuitive to use!
Gouache has been around since the ancient Egyptians, but came into popularity more recently with mid century artists in fields like animation, children’s books, and advertising. Artists like Mary Blair and Eyevind Earle painted backgrounds and concept art at Disney feature animation in gouache. Illustrators like Alice and Martin Provensen, Miroslav Sasek, and more used it in their children’s book illustrations. Gouache became the go-to for these industries because it dries matte which made it easy to photograph or scan to reproduce.

Benefits of gouache
There are many benefits to painting with gouache, but these are the top reasons that I love this medium so much!
Gouache is highly pigmented and gives you amazing coverage. It’s brighter and more opaque than watercolor, and less plastic-y and thick than acrylic. This gives you a unique, flat matte finish that is hard to achieve with any other medium.
It dries quickly. This makes painting a full layered composition so much easier than with mediums like acrylic or oil.
It’s easy to cover up and fix mistakes. Because of the opaque nature of gouache, you can easily paint over areas where you made a mistake, unlike with a translucent medium like watercolor, where mistakes are more prone to sticking out and hard to fix.
Gouache scans really well. I digitize my artwork so it can be reproduced on prints, in my books, and on products, so working with a medium that scans well into a digital form is key for my work!

Gouache painting supplies
Paint
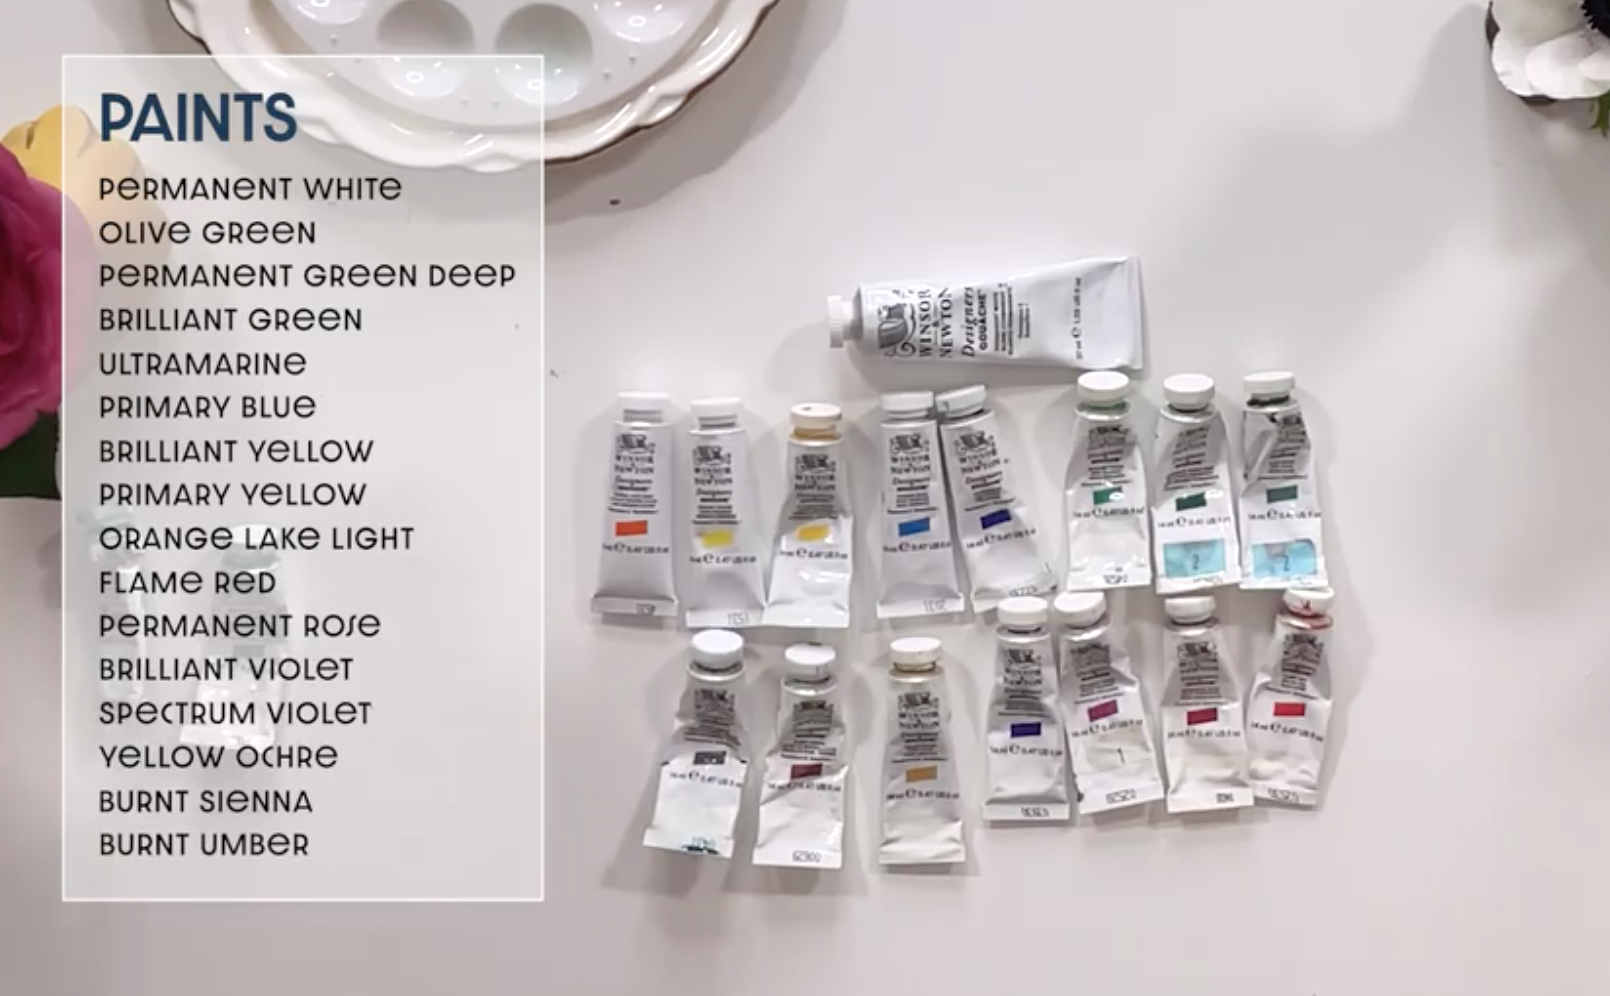
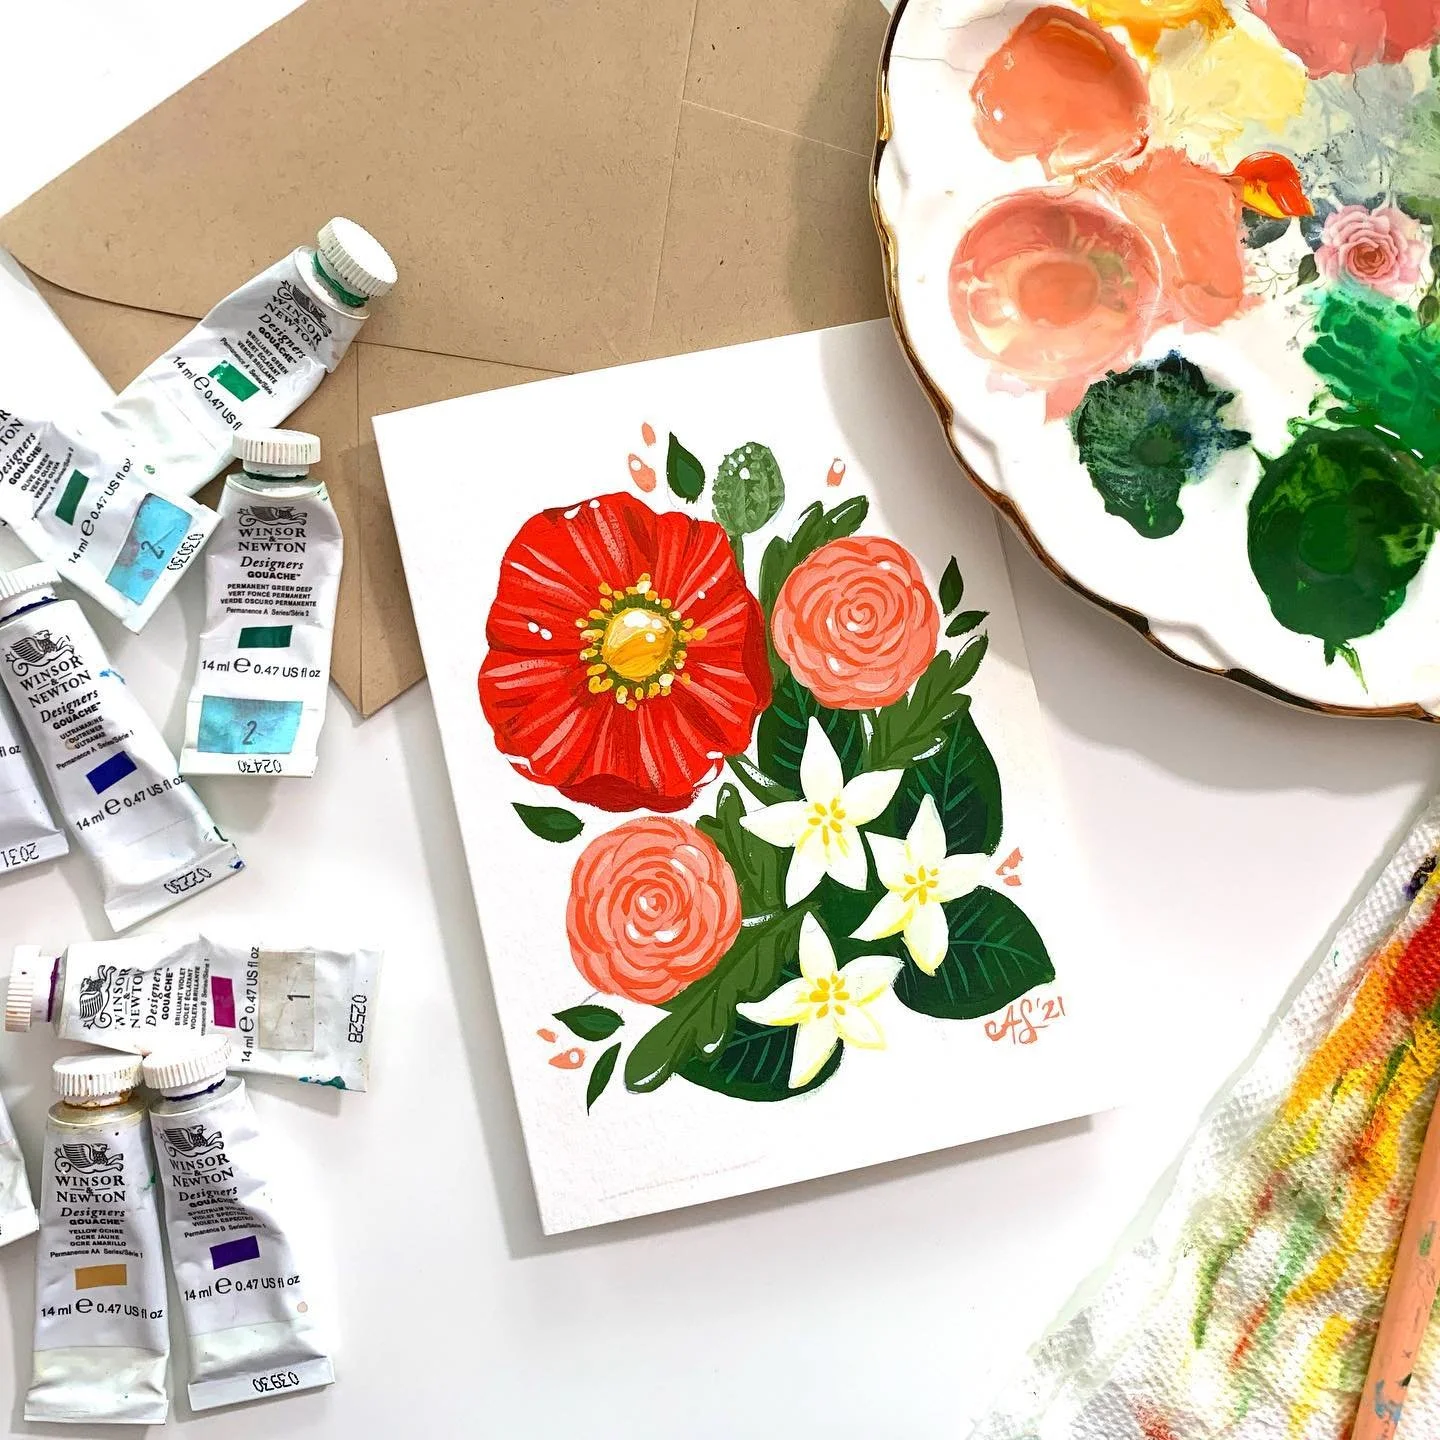
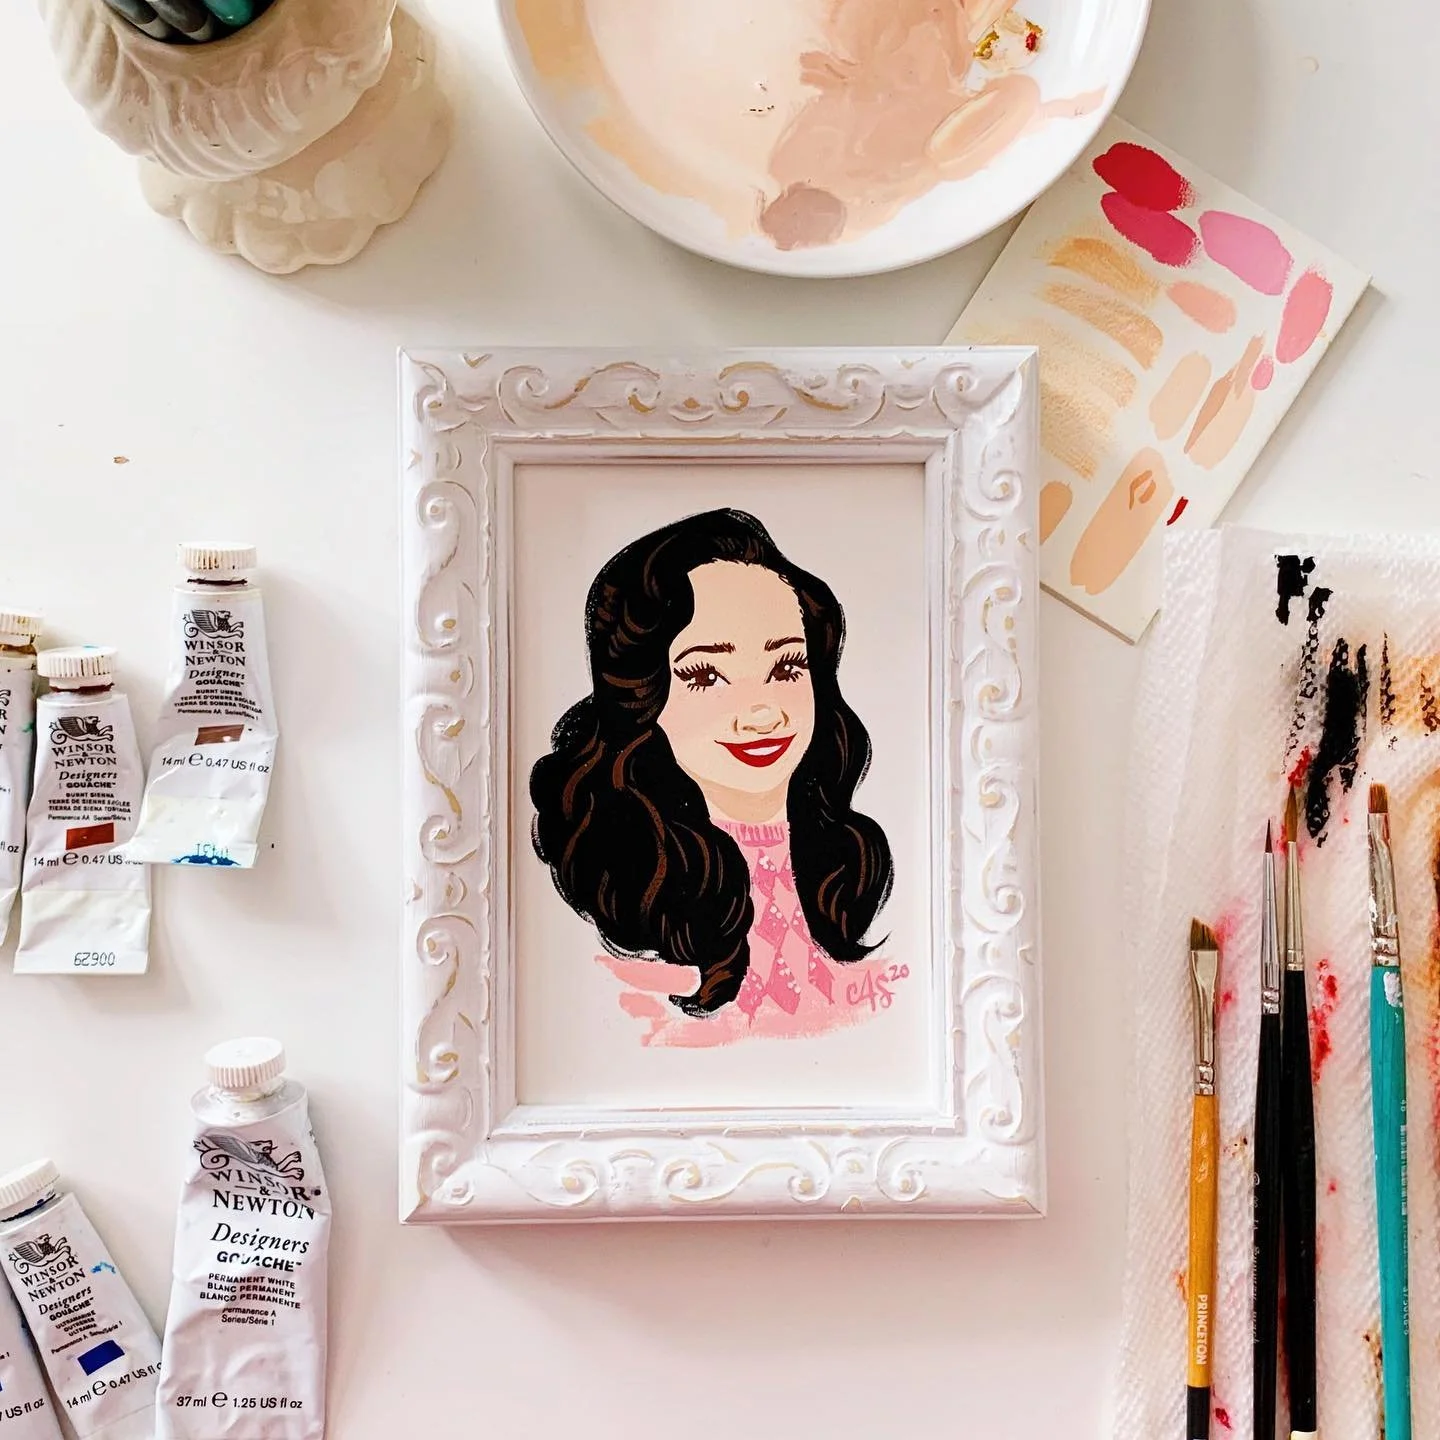
We can’t dive into the world of gouache without the star of the show - gouache paint itself! My favorite brands for gouache are Winsor & Newton designer gouache and Holbein. You can’t go wrong with either of these! As far as colors go, all you really need to start are the primary colors (red, yellow, and blue), black, and white. From there you can mix almost any color you can think of! I like to have some additional colors in my kit to make sure that I’m able to achieve the rich array of colors that I like to use in my work. My preference is to have a cool and a warm tone of every color, so here is what my kit looks like:
As you get familiar with gouache and build your kit, you may discover colors that you need to add that are unique to your palette and style. This is why I recommend starting with a few basic colors and experimenting with what colors you’re drawn to from there.
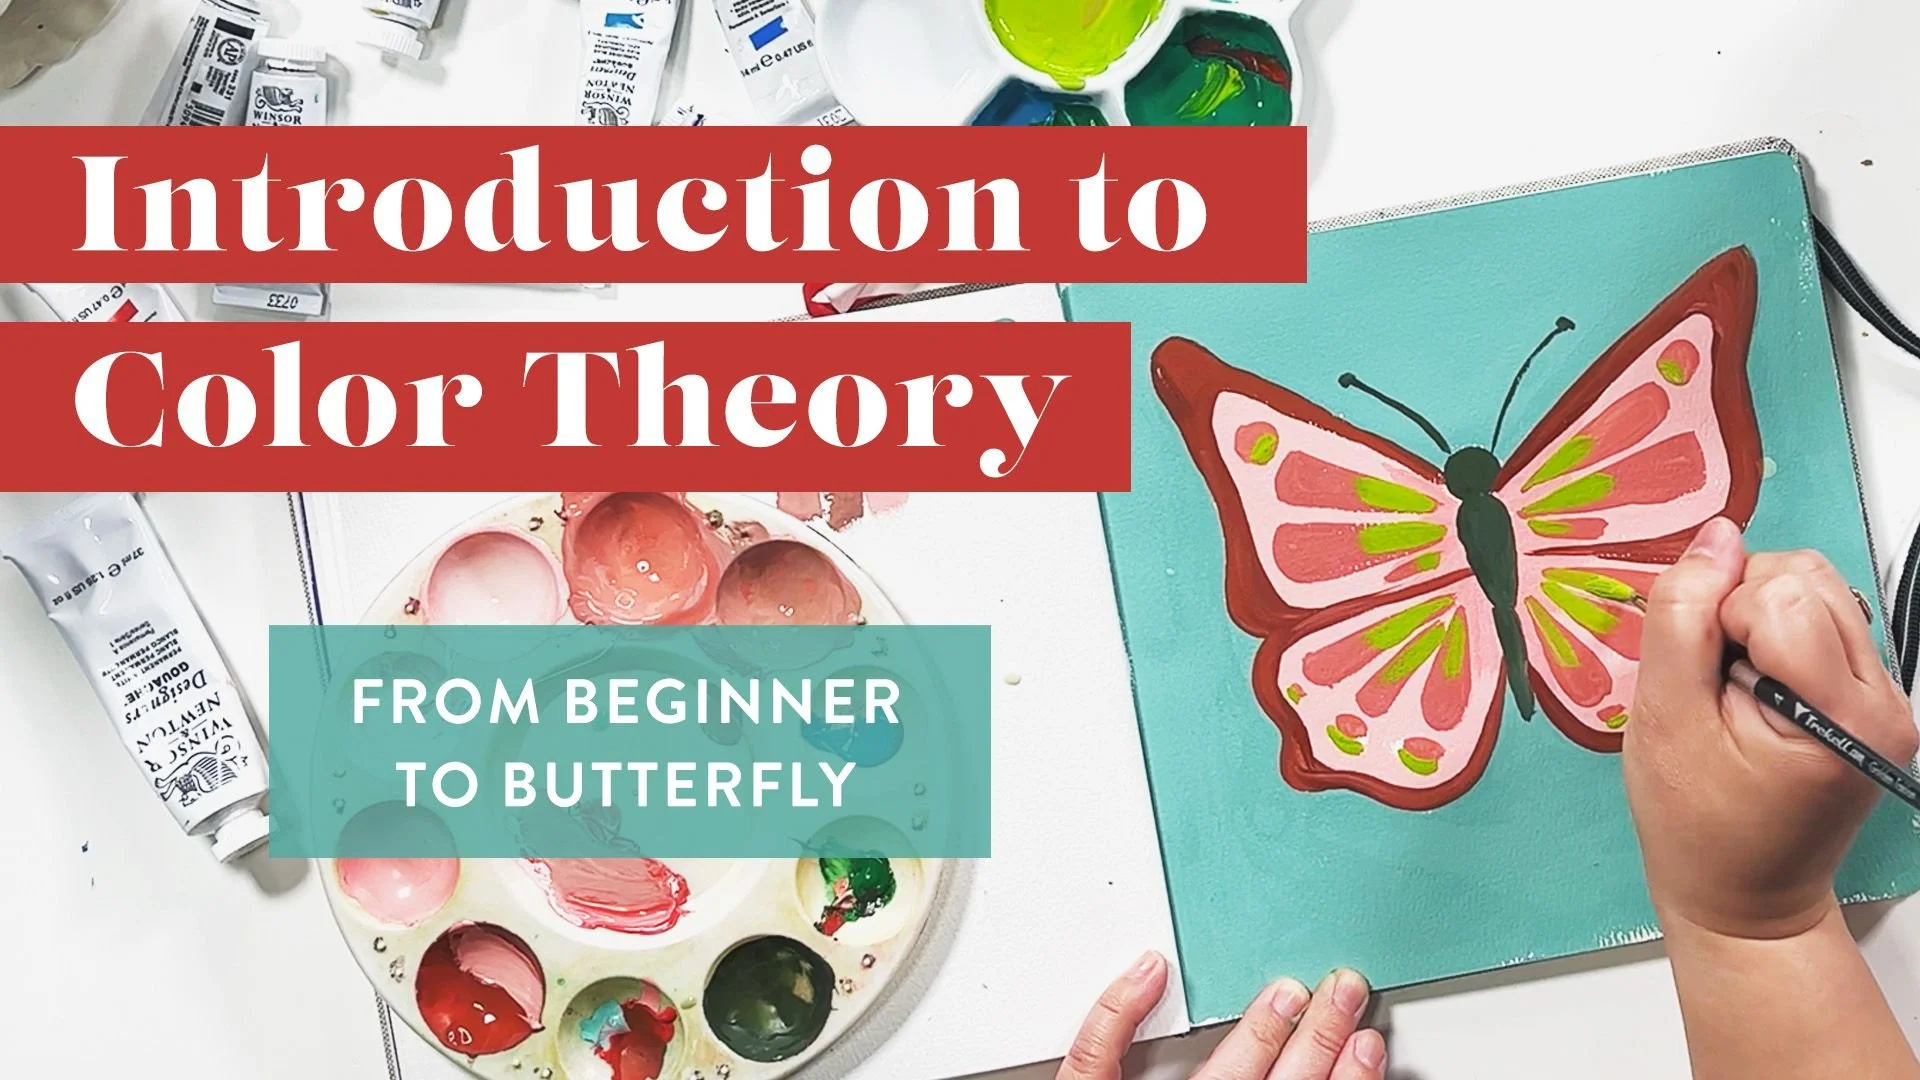
There is so much that goes into color mixing, so if you want a deeper understanding of which gouache paints to start with and how to mix them to create all the colors of the rainbow, join me in my Skillshare class, Introduction to Color Theory. In this class you’ll learn the ins and outs of gouache color mixing, and will be able to transform a few key colors into a vibrant array of different hues. And if you’re new to Skillshare, you can use this special link to get access to the class and try a month of Skillshare for free!
If you’re just starting out and want a more affordable gouache to play with, I recommend a jelly gouache kit like this! It’s perfect for beginners and is a great budget friendly alternative with lots of color options. I also wrote a whole blog post explaining the difference between HIMI gouache and artist-grade gouache. You can check it out here!

Brushes
You don’t need to go out and buy fancy brushes to paint with gouache. Any watercolor brush will do! My go-to brushes are these Princeton select series brushes, or these inexpensive synthetic round brushes.
Paper
When it comes to paper, you don’t need anything fancy. Watercolor paper or mixed media paper will both work for gouache. I prefer to use a hot press watercolor paper because I like the smooth texture.
Palette
Ceramic palettes are great for gouache because you can easily clean them even after the gouache has dried. I love these flower well palettes, but any ceramic dish will work! Bonus tip, I love to go to the flea market and estate sales to search out vintage egg dishes to upcycle and use as palettes too!
How to work with gouache
You know by now that gouache is similar to both watercolor and acrylic paint in some ways, but to access the smooth matte look that makes gouache unique, it needs to be treated differently than these two mediums. Here are my top tips for working with gouache as a beginner!
Paint consistency
The number one key when it comes to painting with gouache is maintaining the correct consistency of the paint. Gouache should be the consistency of heavy cream. It’s not like this when it comes straight out of the tube, so you’ll need to add a couple of drops of water to the paint to get it there.
If you use gouache straight out of the tube you’ll find that it acts a lot like acrylic. It’s thick and opaque, but it can be a little gloopy, dry, and harder to paint with. Adding a touch of water to the paint on your palette will help blend together the gum arabic binder and pigment colors to get to that heavy cream consistency so that you can achieve the opaque look while painting.
Depending on how dry or old your paint is, you might have to add more water and work it a little to get it to the heavy cream consistency. It’s all about experimentation, so don’t be afraid to play around with paint consistency to learn what works best for you!
On the opposite side of the spectrum, you don’t want to add too much water to your gouache or else it will start to function like watercolor and lose its opaqueness. This is ok if that’s the look you’re going for, but the beauty of gouache is that it allows you to get more coverage than watercolor.
If you accidentally add too much water to your gouache, no problem! You can add in a little paint from the tube to reach that heavy cream consistency. I always start by adding my water slowly because it can easily overtake the gouache if you’re not careful. Practice adding it drop by drop and you’ll start to get the hang of the heavy cream consistency in no time!
Brushstroke techniques
When you’ve achieved the heavy cream consistency, your gouache should lay flat on the page with smooth, even coverage. When it comes to your paint strokes, less is more. Gouache is water-based and if you go over a wet area multiple times with more paint it will start to pick up the color and clump. Experiment with finding the balance between laying down your paint without going over it so many times that you start to pick the paint up.
When I want to add more visual interest and texture to my paintings, I paint with a dry brush to get some additional texture. In this example, you can see the dry brush effect on some of the detail lines of the red flower as well as where I added some dark shadows to the leaves.
To achieve this dry brush look, you’ll add very little water to the paint on your palette so that it’s drier and goes on to the paper with more texture. I love using this technique to add shadows since it helps the shadow feel more organic and integrated into the painting.
Layering & Blending
Since gouache is an opaque medium, the different elements of the painting are able to lay on top of each other easily. This means that with gouache, we always paint starting with large areas to small, and back to front. This is unlike watercolor where you paint from front to back or lightest to darkest.
The key to layering gouache is to make sure you wait until the bottom layer is completely dry before painting on top of it. If you’re painting white on top of a dark color, you might need to paint a few layers before it starts to cover up the darker background color, but always make sure that each layer is dry before painting the next one.
In this example, you’ll see what I mean about painting back to front. I started with the dark background colors, and added lighter elements on top. This light colored flower needed a couple of layers before you could no longer see the dark layer underneath, but it did cover it up eventually!
Even if your bottom layer is dry, painting on top of it with too much water can reactivate the dried layer. Gouache is water-based and can be re-wet on paper even after it’s dried. This can be helpful if you’ve painted something that you want to re-work. But if your goal is to paint on top of a dried layer with a different color of smooth opaque paint, make sure that you’re painting with the heavy cream consistency so as not to add too much water and reactivate the bottom layer.
If you want to blend two colors of gouache together to create a gradient or a blend, you can do so by blending them while they are both wet on the page. Be sure not to overwork this, but you can achieve some great looking blends by experimenting with wet on wet gouache.
In this example, I had two wet brushes and went back and forth between the two to create a gradient blend.

Color tips
The biggest tip I have around color, is to make sure that you always have a scrap piece of watercolor paper handy to test out the colors you want to paint with. Gouache dries darker than it looks when it’s wet, so I like to test out my colors and see what they’ll look like dry before committing to laying them down on my page!

Bonus tips
While gouache dries quickly, sometimes it can be helpful to speed up the process. Keep a blow dryer nearby to dry base layers of your paint quickly!
Gouache doesn’t need to be varnished or spray fixed to stay looking vibrant and beautiful. If you want to display your gouache paintings, I recommend framing the behind glass and keeping them out of direct sunlight. And that’s all you need to keep your pieces looking in tip top shape!
More Gouache Resources
Free Guide
Want to get a quick reference guide for everything you need to know about gouache? Download my free guide here!
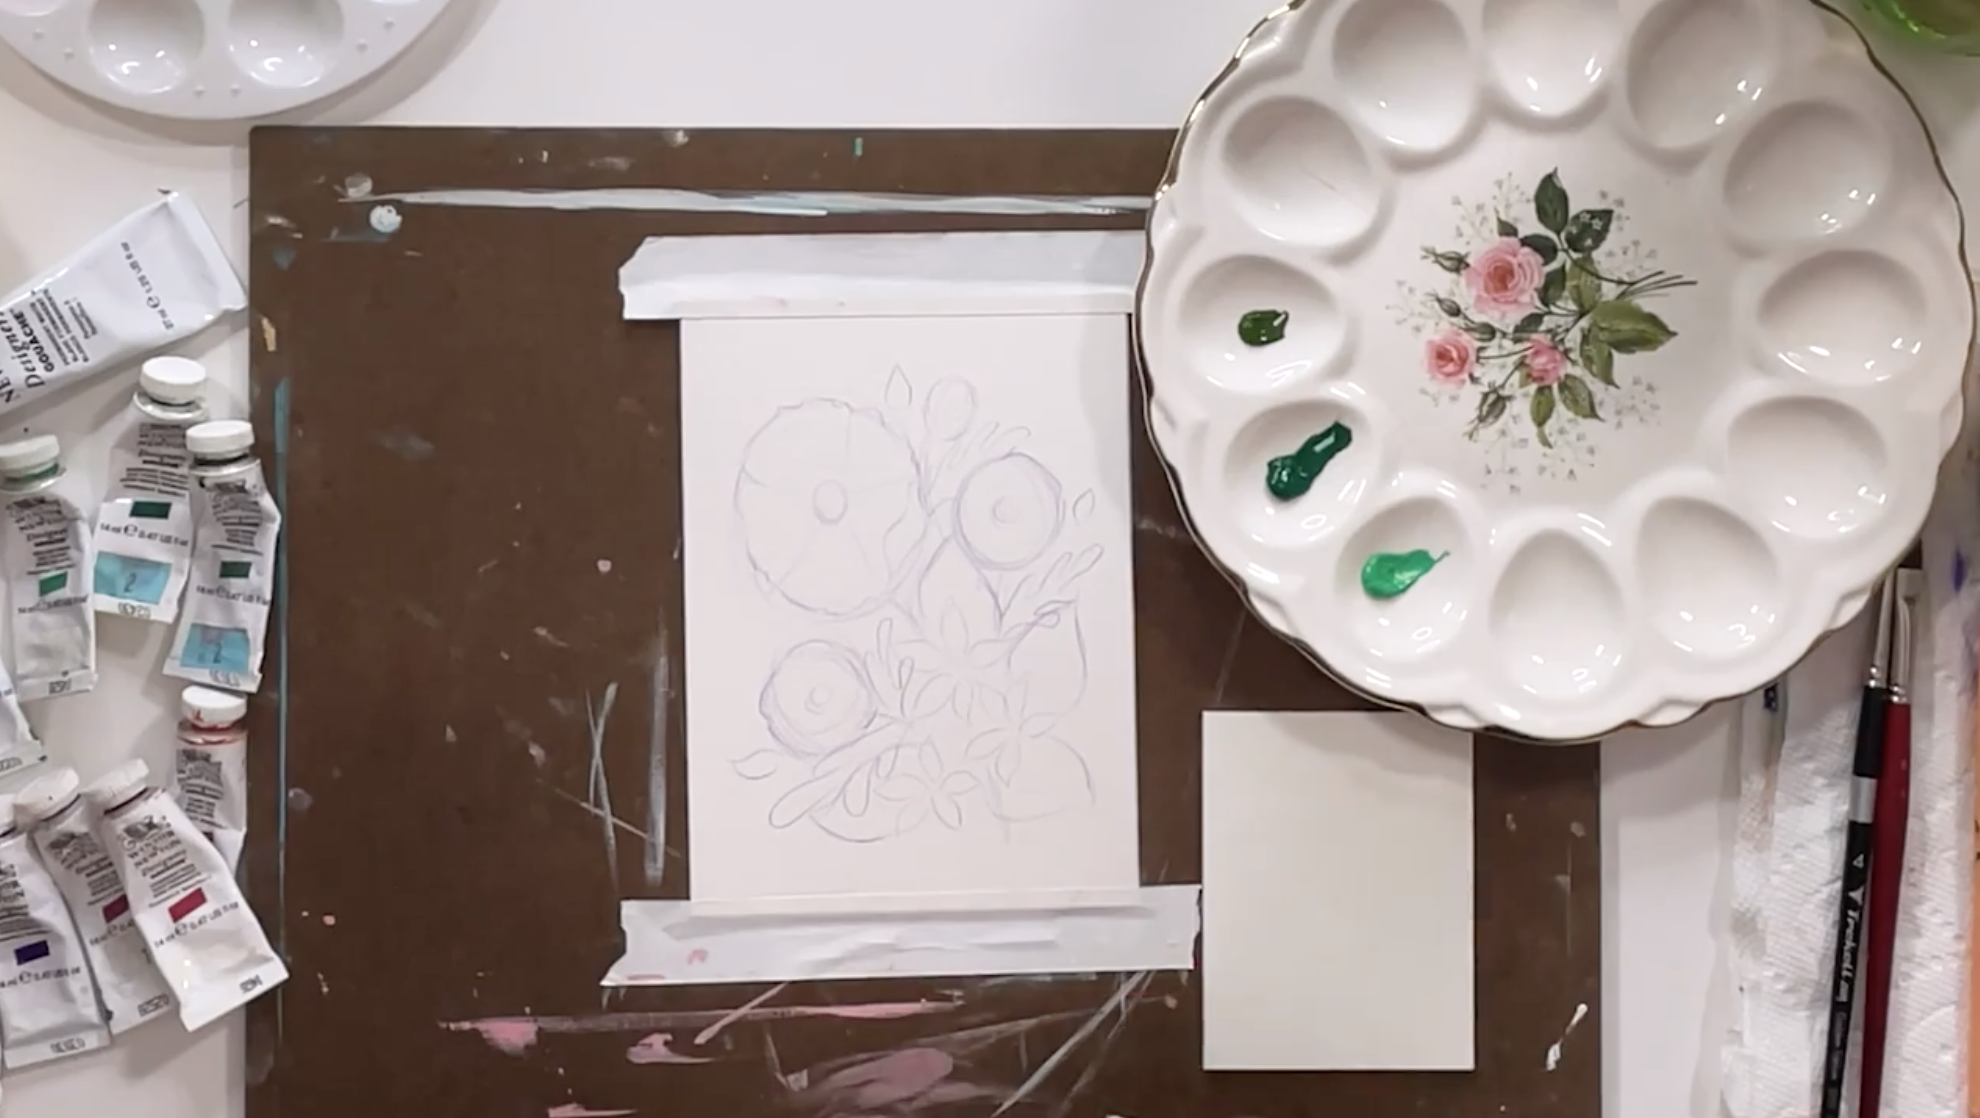
Step-by-step Gouache Painting Classes
If you’re looking for ideas of what to paint now that you have an overview of how gouache works I’d love to have you in my class, Painting Flowers in Gouache. In this step-by-step tutorial, you’ll learn how to sketch a floral bouquet and paint it in gouache! This is a great place to get comfortable with gouache in a guided setting. I know it can be intimidating to start a blank page and wonder what to draw. This takes the guesswork out of the motif and allows you to play with gouache without any pressure! Plus, you’ll finish the class with a beautiful bouquet of flowers! Join me in the class for free when you sign up for a free trial with Skillshare!
