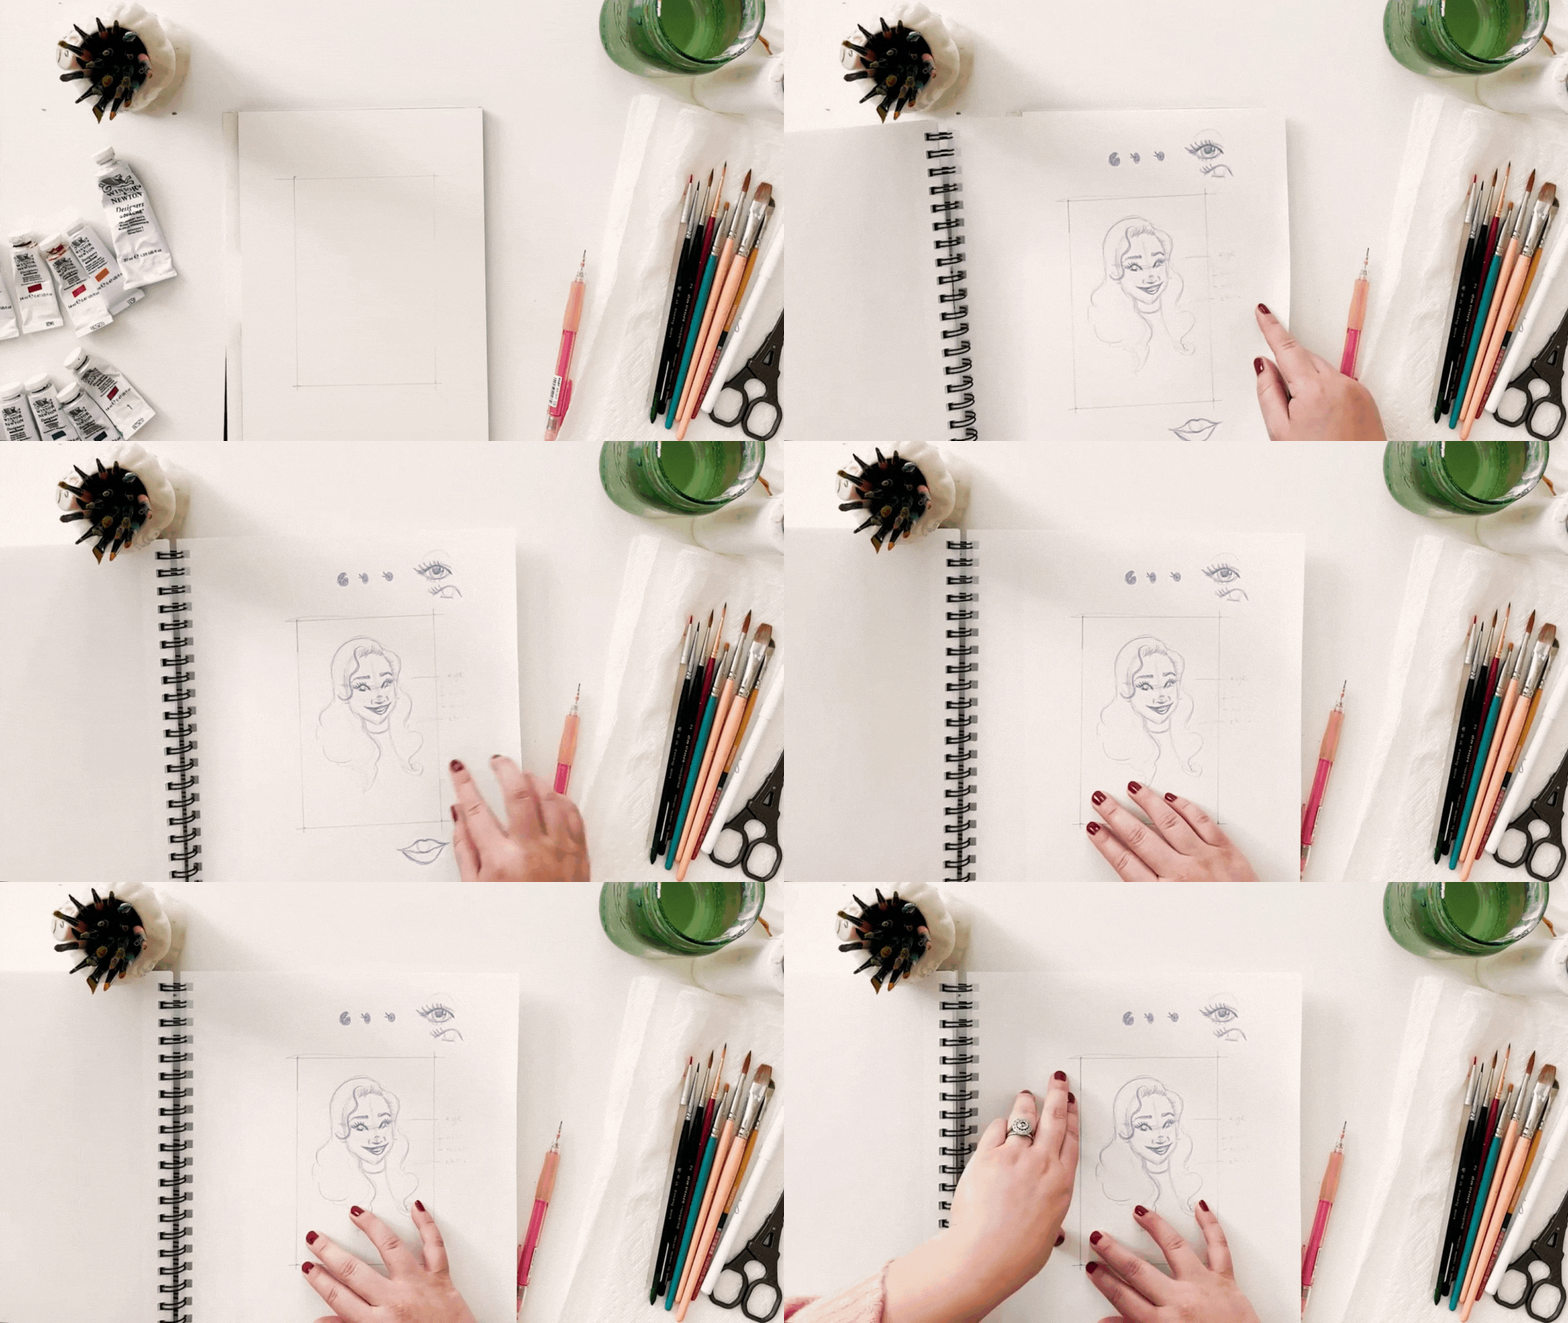
How to Transfer a Sketch to Watercolor Paper
In this blog post, I’ll share how to transfer a sketch onto watercolor paper using transfer paper (here’s a link to my favorite). I’ll also go over a few other methods of transferring a drawing if you don’t have transfer paper on hand.
But first, why do you need to transfer a sketch in the first place? I personally like to do my rough first sketches in a sketchbook or on scrap paper. When I’m sketching I generally create a lot of rough marks that I don’t want in my final piece. If I were to do that directly onto my watercolor paper there will inevitably be some lines that peek out from behind my painting.
Plus, too much erasing on a thick, textured paper like watercolor paper can damage the surface so it’s not as even when you’re painting. I like to refine my sketch separately before I transfer it to the paper I’ll be using for my final painting.
Another reason to transfer your sketch is so that you have a copy of your drawing to reference. I paint in gouache which is an opaque medium. If I’m painting something like a portrait, it can be helpful to have a sketch to reference as I’m painting so I know where to place details like the eyes and nose after I’ve already painted the first layer of the face.
How to use transfer paper
My preferred method for transferring sketches is to use transfer paper! This can be found at any art store, and I recommend getting the red version because red pencil marks tend to fade into the painting better than straight graphite. Non-photocopy blue also works well.
Step 1: Place your sketch on top of the watercolor paper
To start, place your sketch on top of your watercolor paper. Make sure it’s centered so that the transferred sketch ends up in the right place.
Step 2: Cut your transfer paper to the correct size
Now, cut off a piece of your transfer paper so that it will fit nicely between your watercolor paper and the sketch. It doesn’t have to be perfect, it just needs to be big enough to cover the entire area of your sketch.
Step 3: Slide your transfer paper between your sketch and watercolor paper
Make sure to hold your sketch and your watercolor paper so that they stay lined up, and then slide your transfer paper with the graphite side down against the watercolor paper.
Step 4: Trace over the sketch with a ballpoint pen
Now it’s time to sketch! I like to use a ballpoint pen because that allows me to put enough pressure on the transfer paper so that my sketch actually shows up on the watercolor paper. You want to press hard enough that the transfer works, but not so hard that you end up engraving the sketch into your watercolor paper. This can take some practice to figure out, so it can be helpful to practice on a scrap piece of paper if this is your first time.
When tracing over the sketch, I try to get just the essential lines transferred over. I don’t worry about adding too many detail strokes since I can always reference those from my original sketch as I’m painting.
Don’t have transfer paper? No problem!
You can replicate this method by covering the back of your sketch with graphite and following the same steps above. If you don’t have transfer paper on hand, this can be a good alternative!
This is just one of the techniques I teach in my class, Paint a Portrait in Gouache. In that class, you’ll learn the step-by-step process for painting a portrait from sketch to final painting! Check out the class here!
This post contains affiliate links which help support my small business at no additional cost to you!


